
Latest News


![[Returning Adventurers] Embark on an Adventure with Black Desert Once More!](https://s1.pearlcdn.com/NAEU/Upload/thumbnail/2024/AX1YESTRKE1KIU9420240403090822095.400x225.jpg)
Uncover the Ancients' Truth
An Adventurer who's lost all memories stands at the center of a continent.
Begin your journey to uncover the truth of this world.

Limitless Adventures
Wander the plains on horseback or sail the oceans on a ship.
Explore the wide world and create your own story.
Countless Battles
Fight back the forces that threaten the world or test your might against other Adventurers.
Lead your guild to victory in battle to earn great renown and greater wealth.


Endless Possibilities
Cozy up in your uniquely decorated residence,
sit and listen to insects around a campfire,
embark on a fishing trip with friends, or become a talented alchemist.


A Vast Open World
From the scorching heat of a desert metropolis
to the serene peace of hidden forest enclaves,
a thrilling story follows wherever your footsteps take you.
Class Introduction
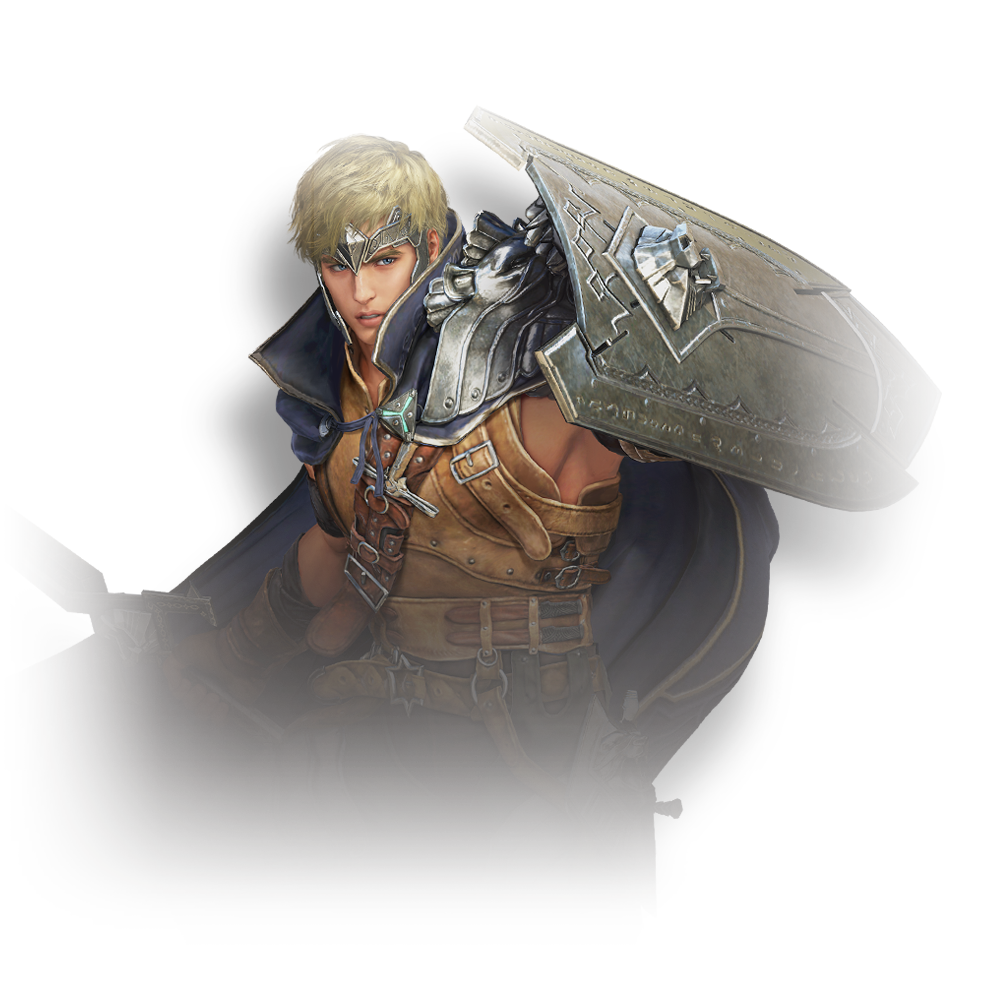
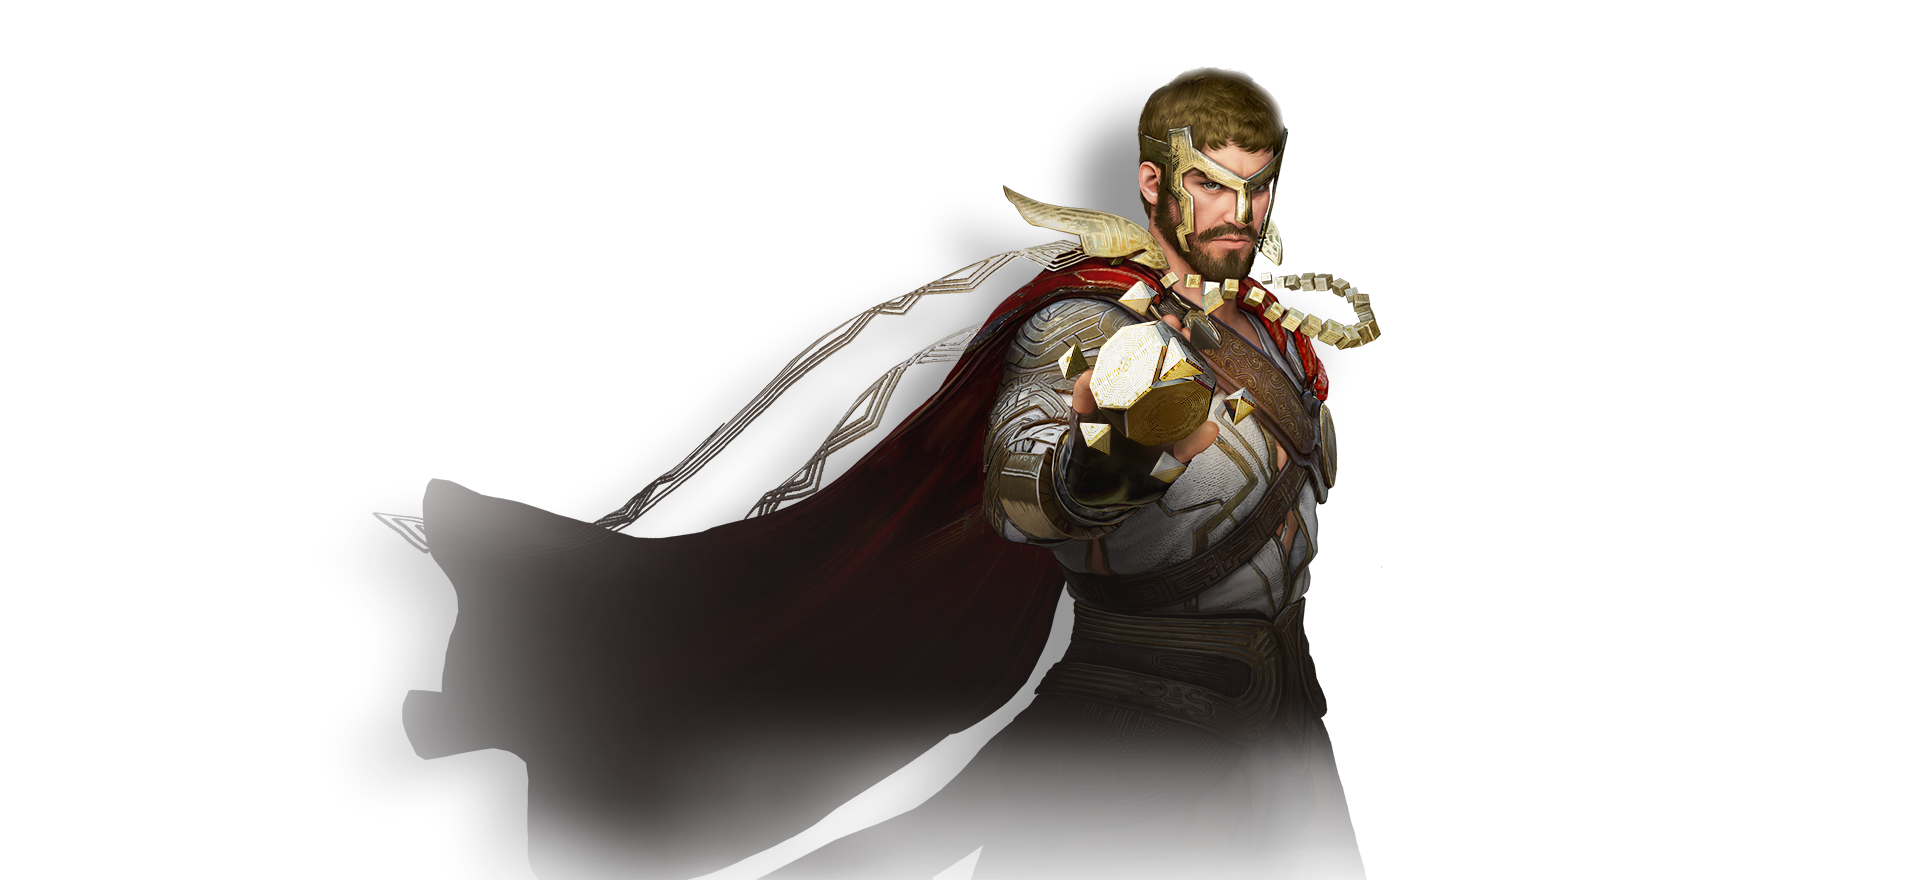
Warrior
Warrior is a skilled melee fighter that uses a sword and shield.He's a powerful combatant with balanced offense and defense. Learn More


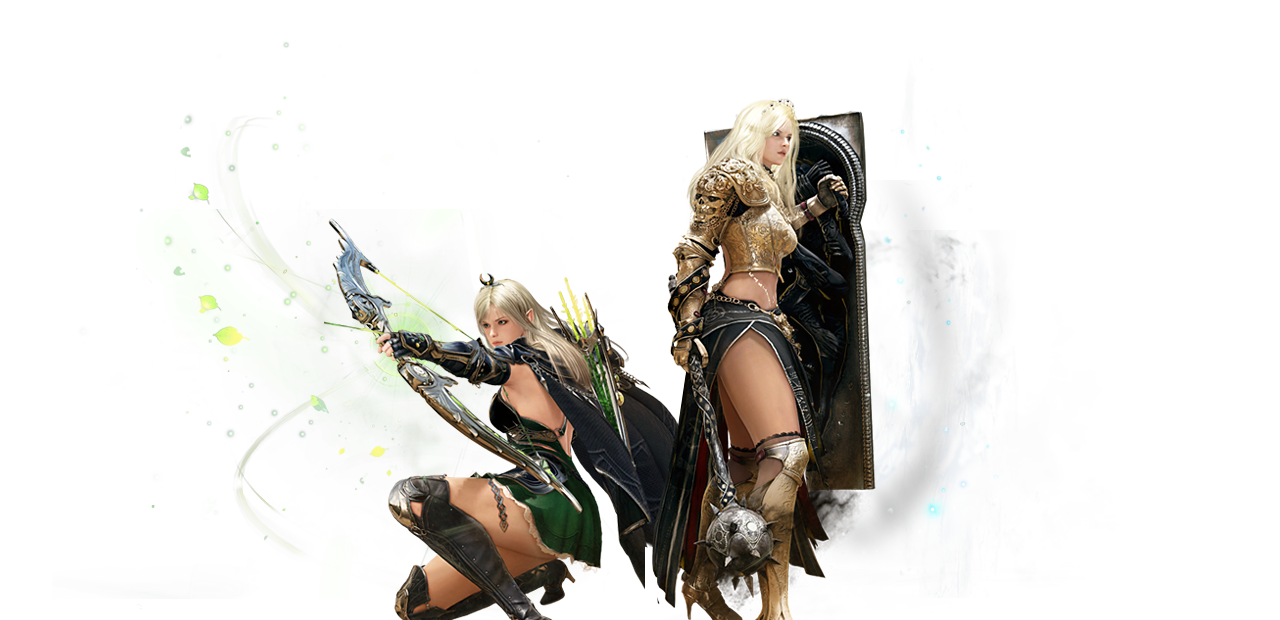
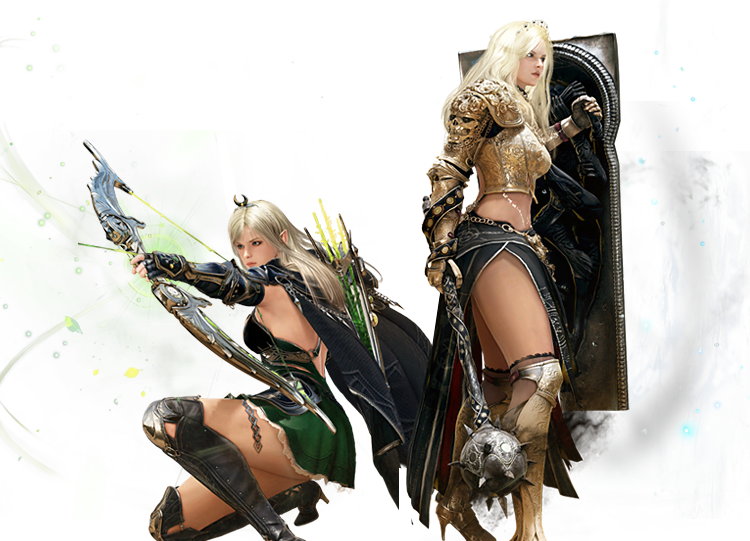
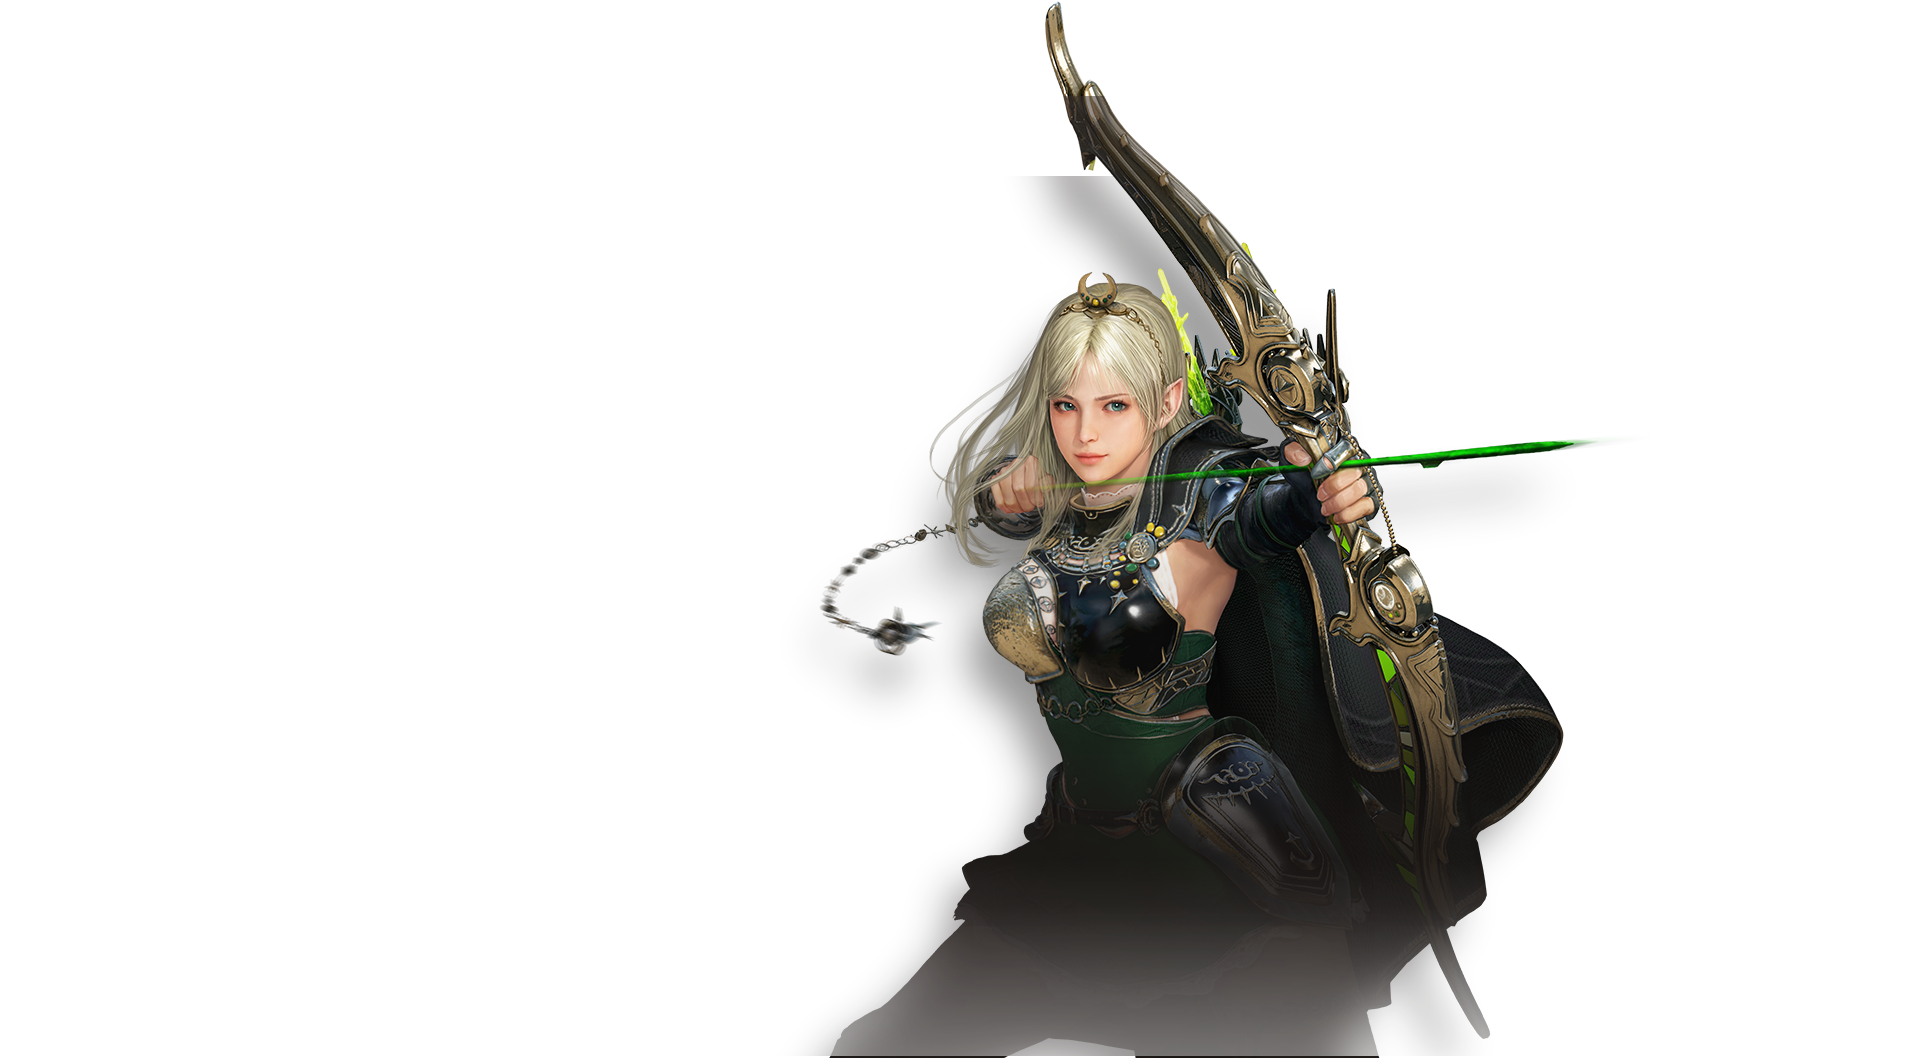
Ranger
Ranger is a ranged class that attacks enemies from afar.She uses ranged strikes in combat to keep her targets at bay. Learn More


Sorceress
Sorceress is a hybrid class adept at both melee and ranged combat.Her dark magic makes her a threat at any range. Learn More


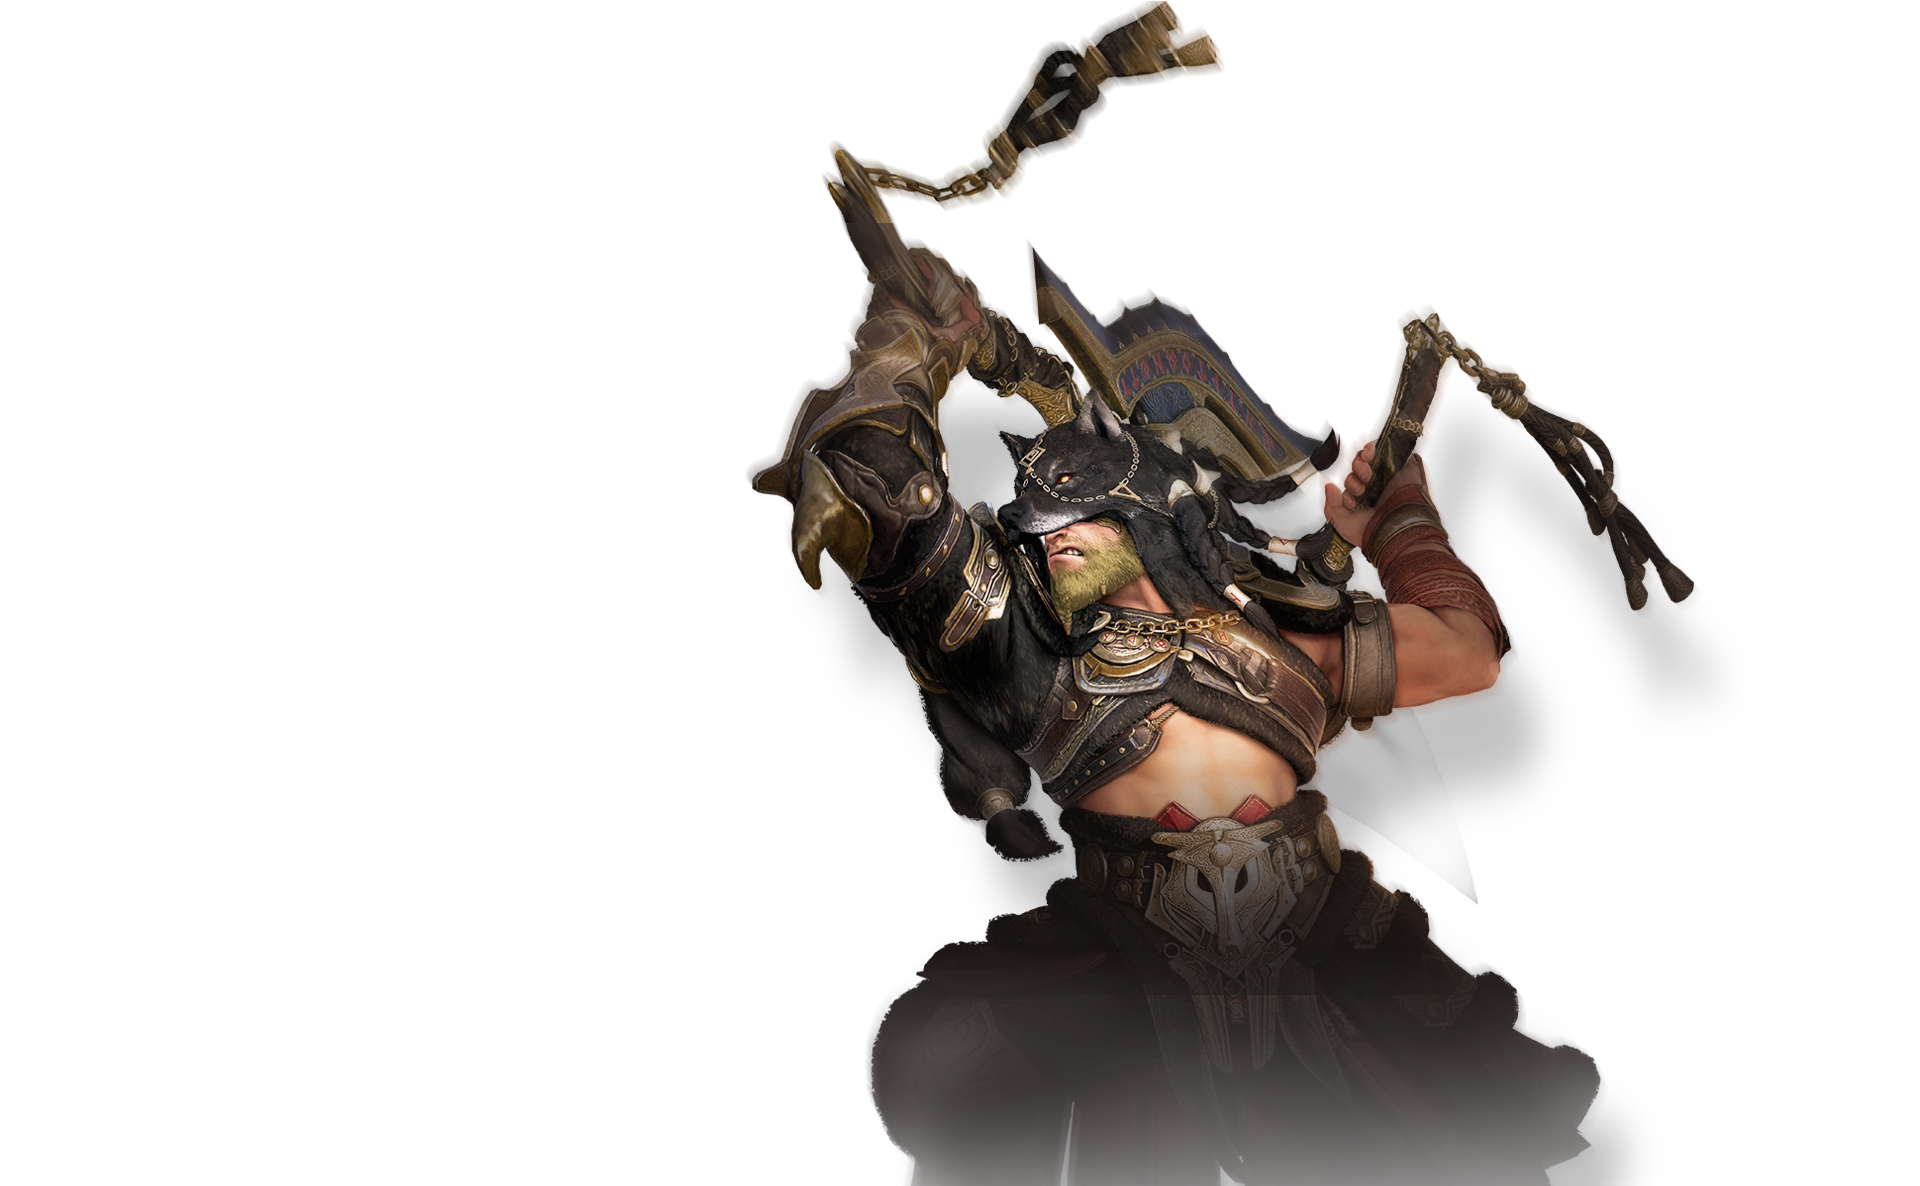
Berserker
Berserker is a melee fighter who wields massive axes tomercilessly attack his foes. His bestial rage cleaves enemies apart
with ease. Learn More


Tamer
Tamer is an up-close combatant who fights in tandem with her beast companion.She can even ride atop Heuklang as its fangs and claws shred opponents. Learn More


Musa
Musa is a martial arts master whose sword strikes with speed and precision.Enemies fall before he sheathes his blade. Learn More


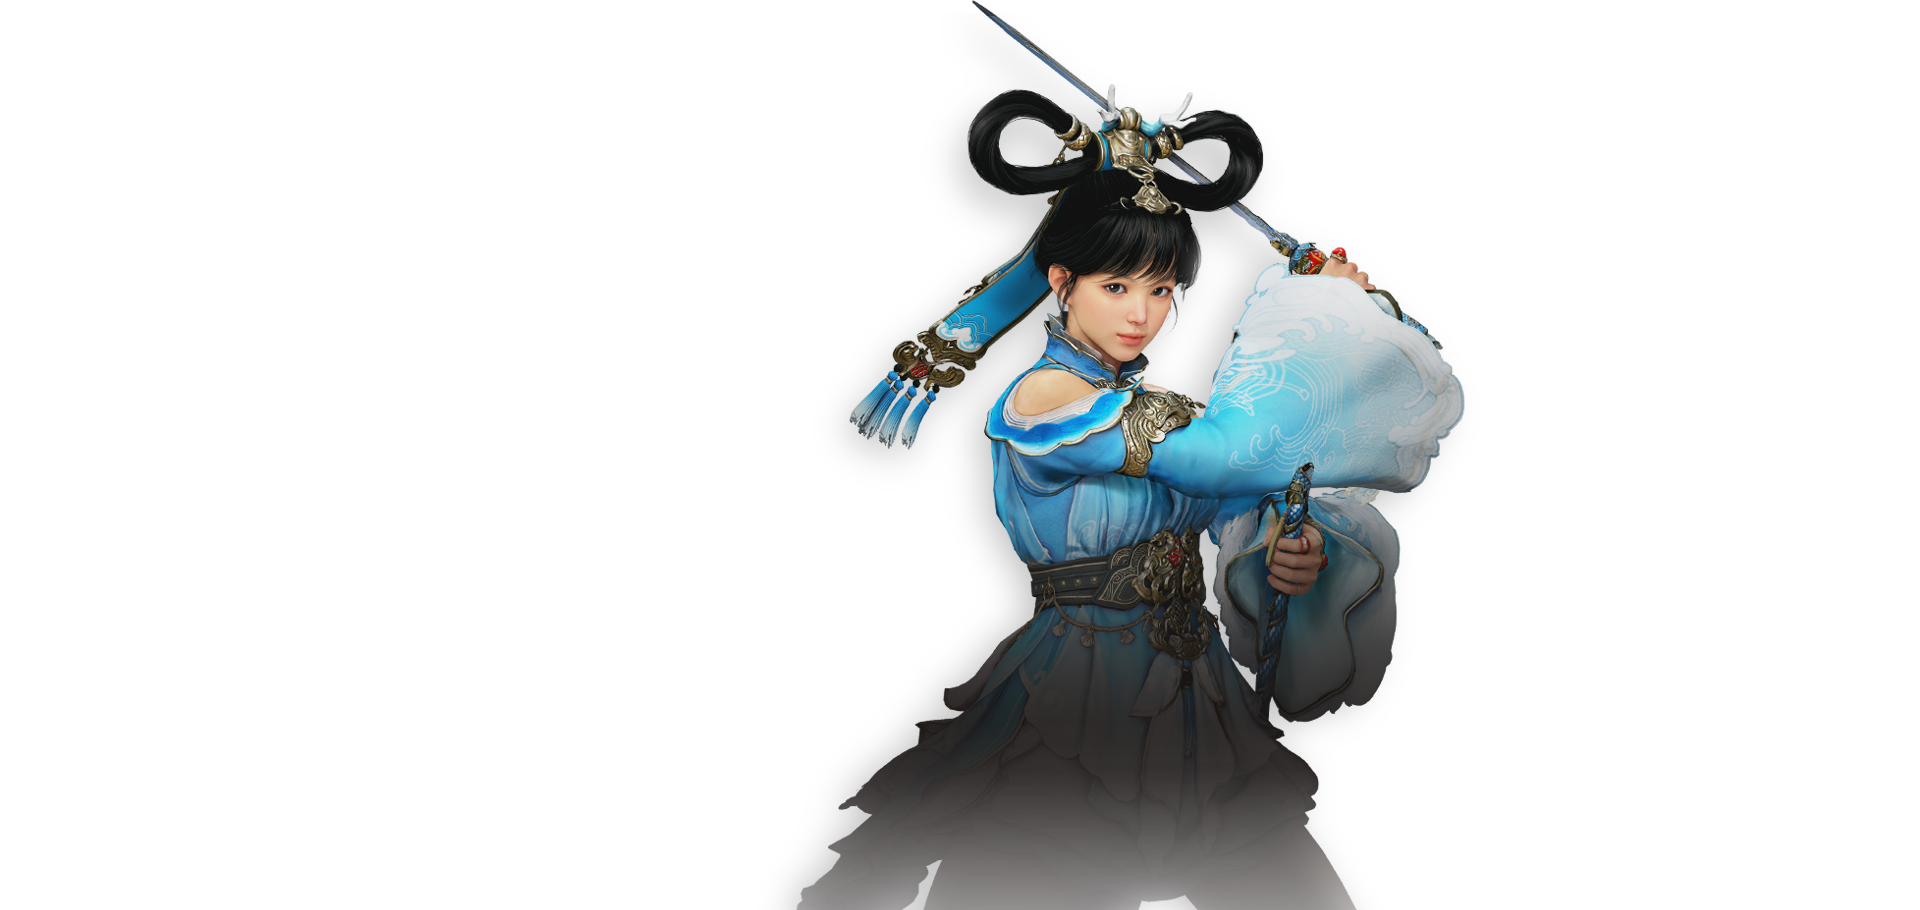
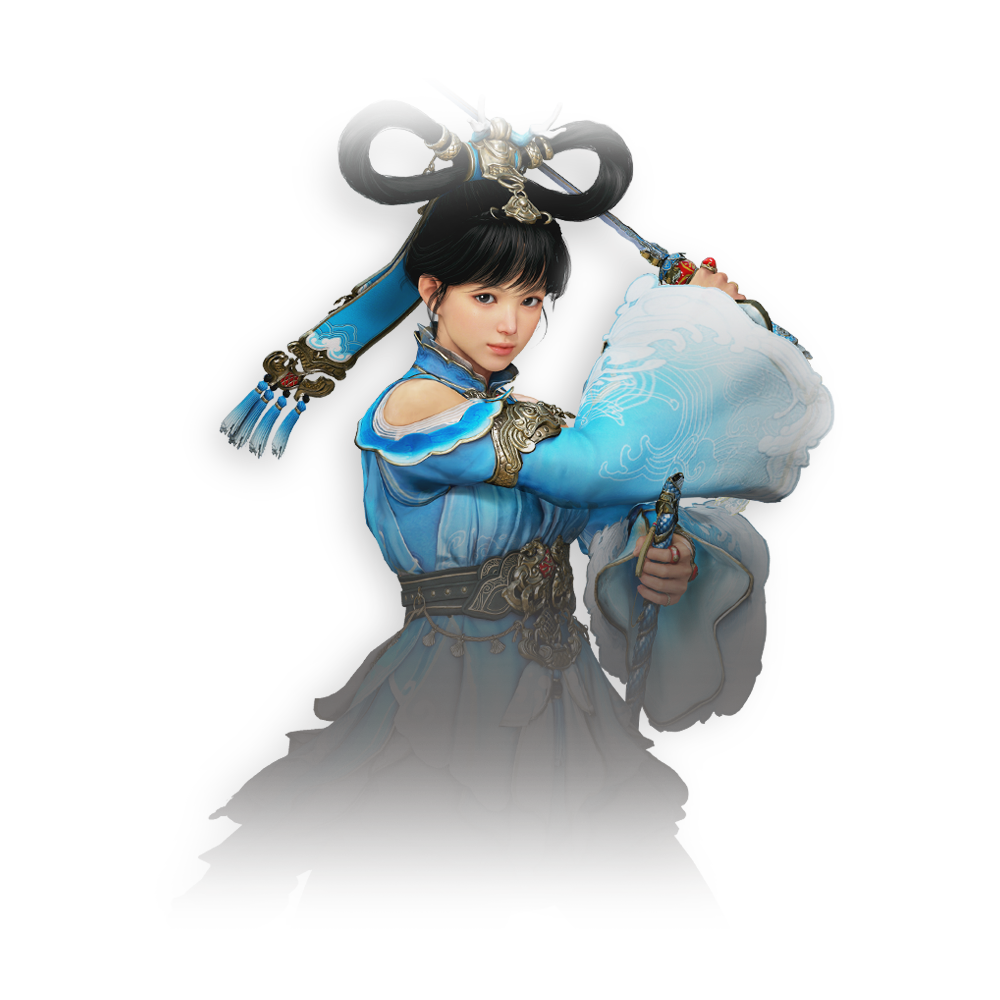
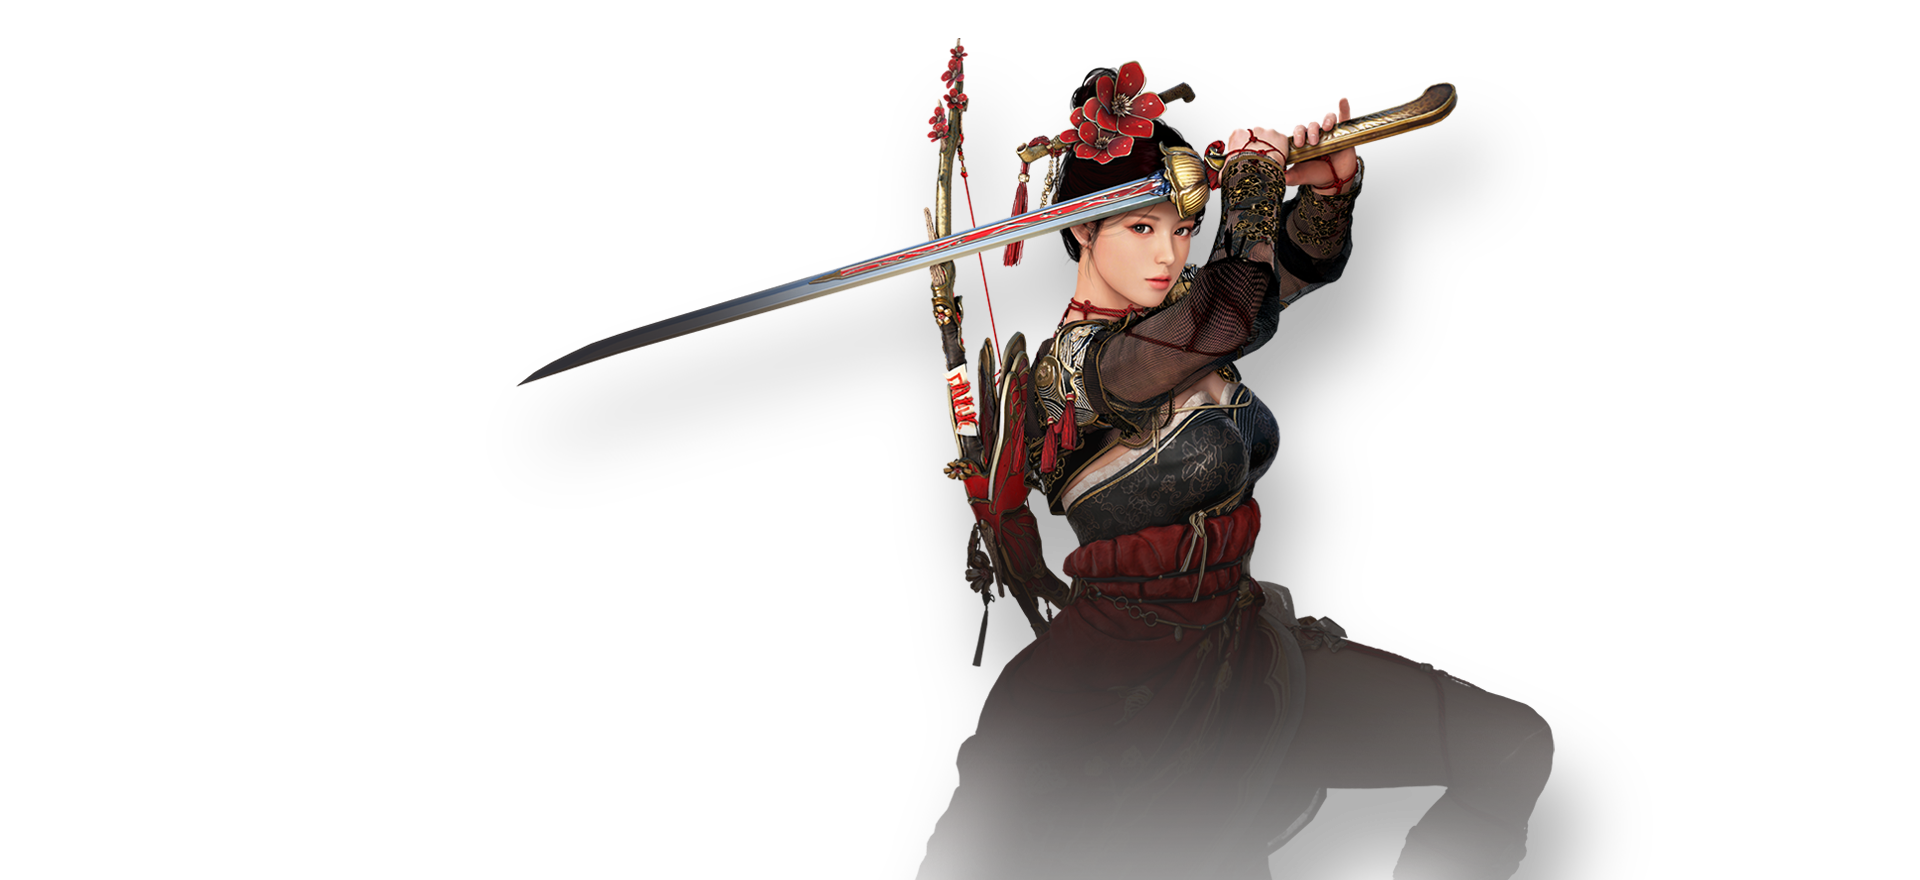
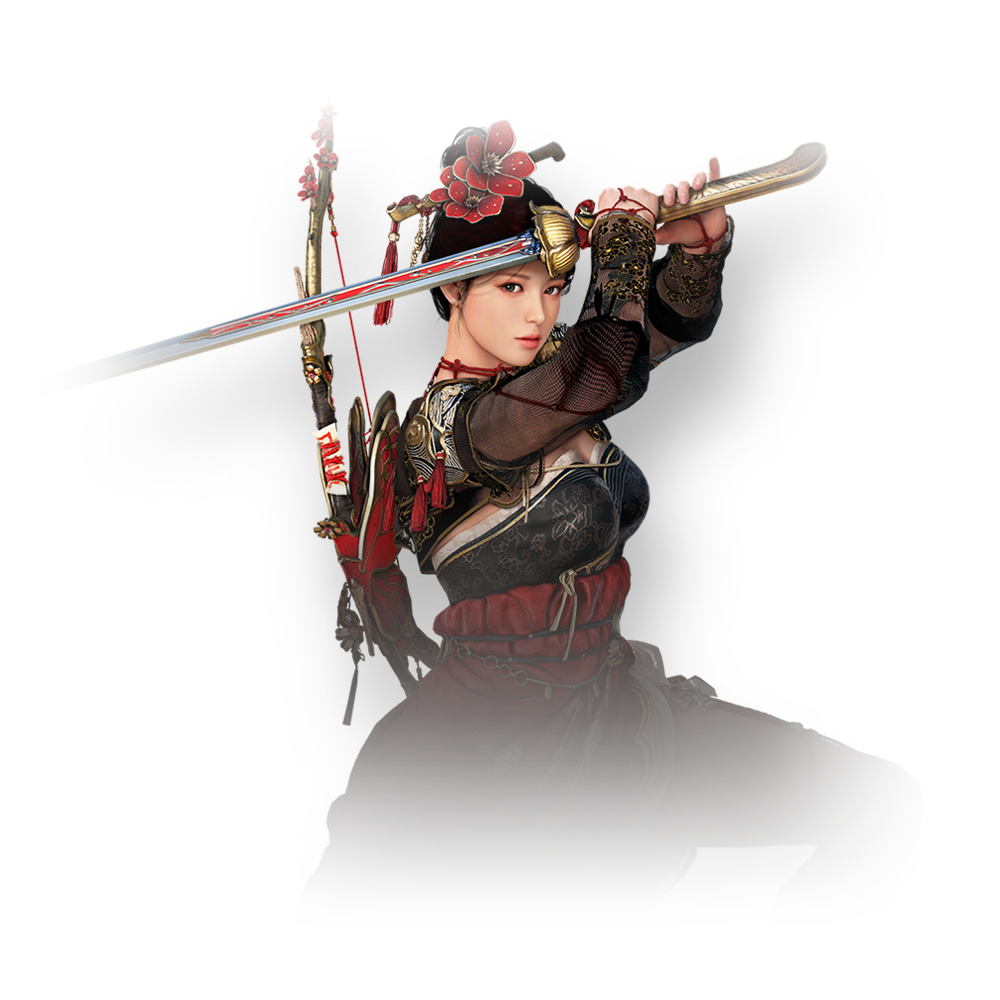
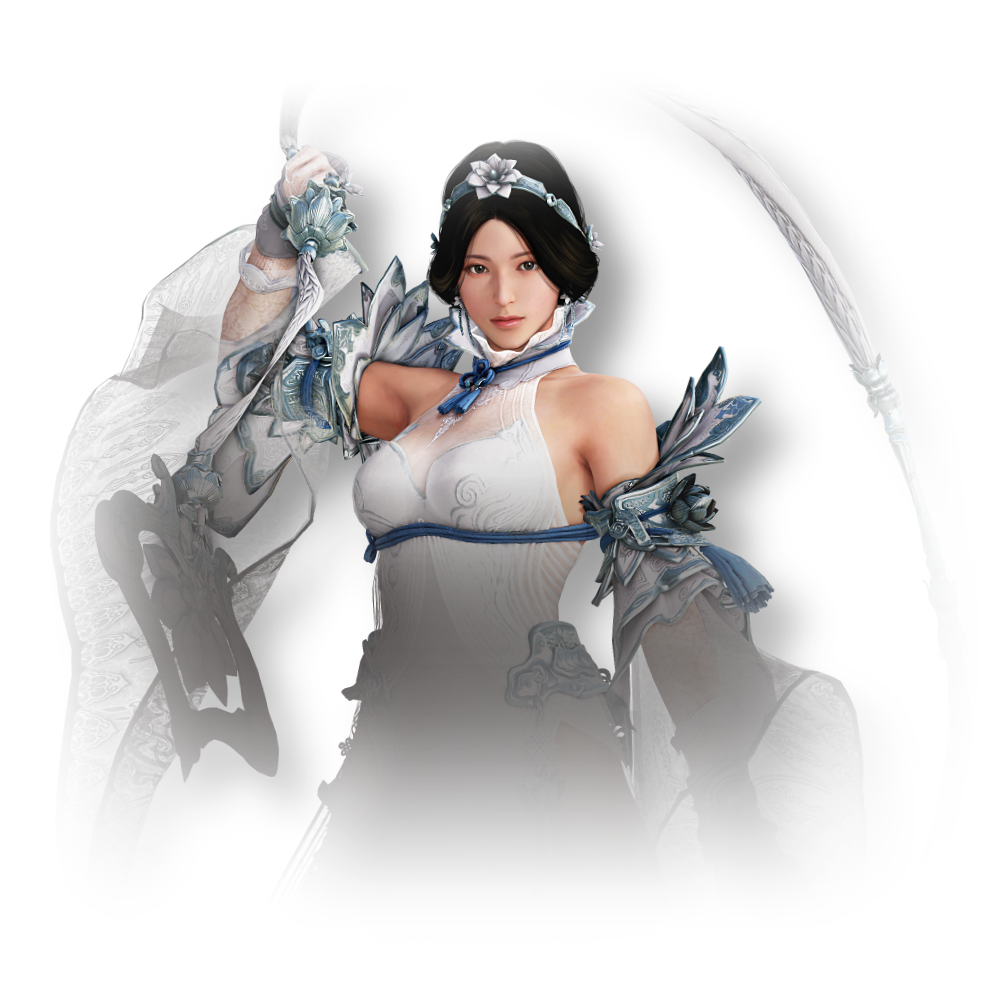
Maehwa
Maehwa uses martial arts techniques to slice through enemies like water.Her blade moves with all the swiftness of the wind. Learn More


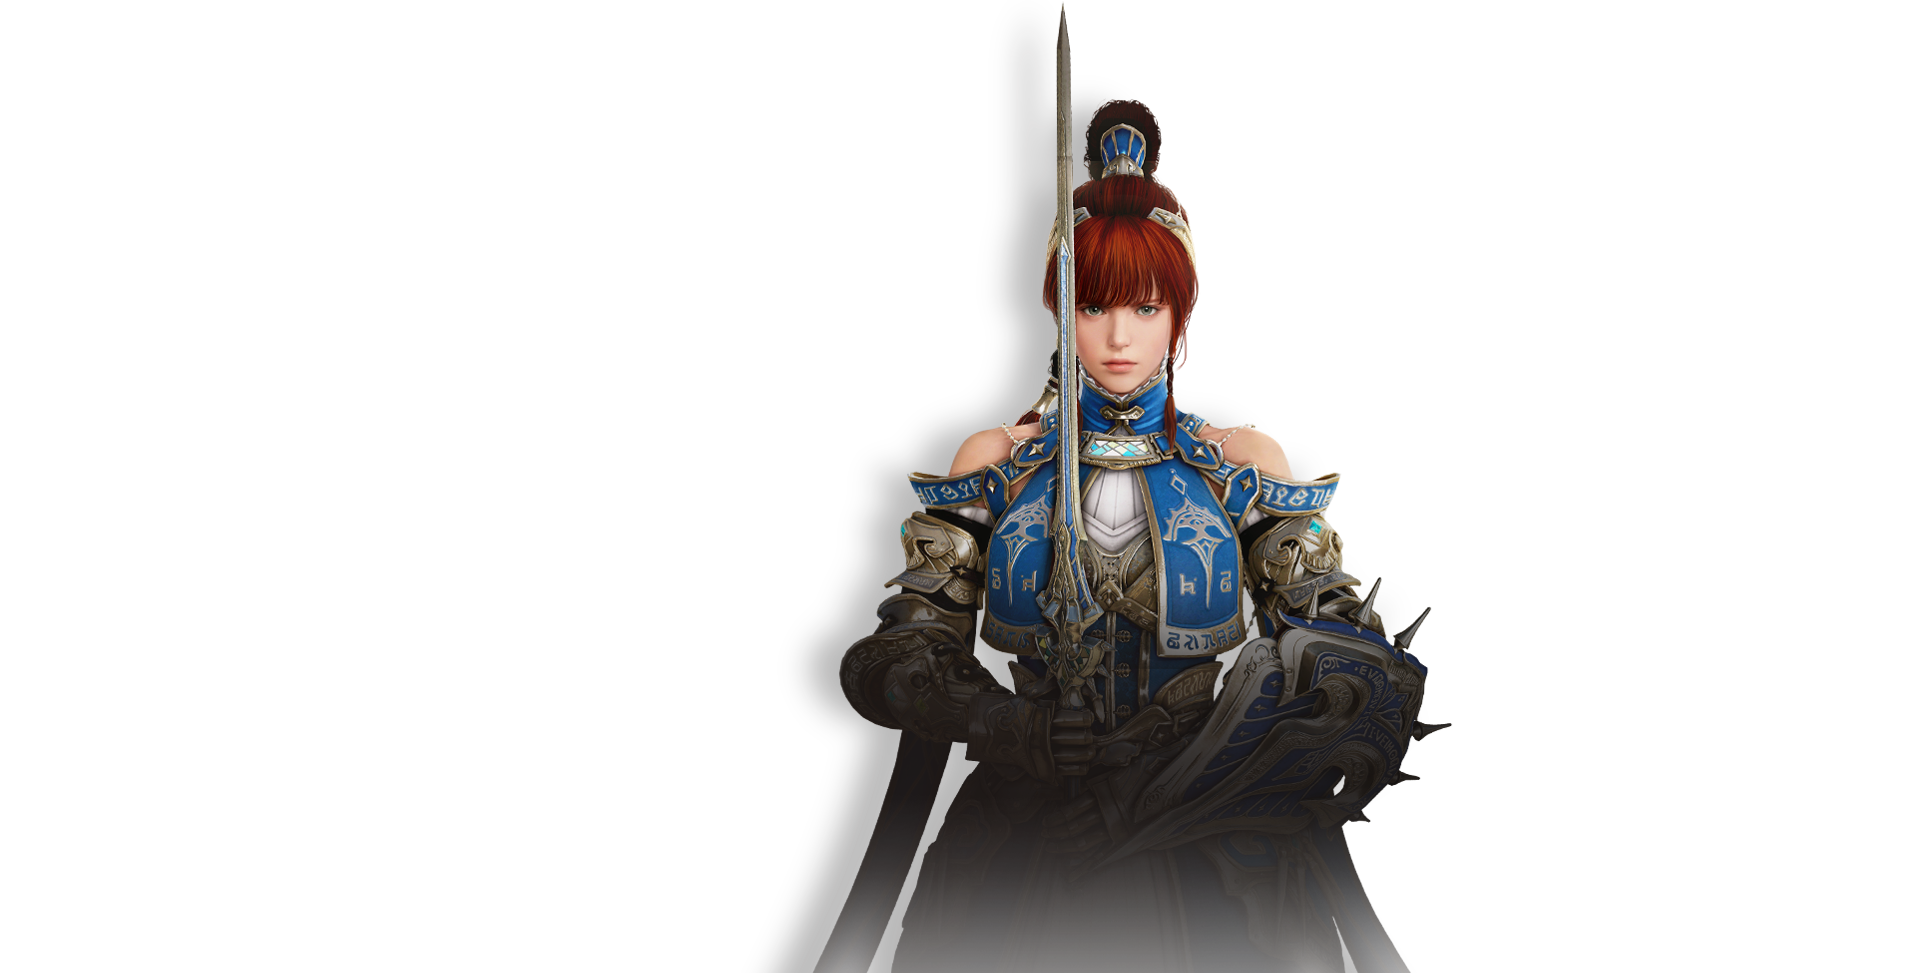
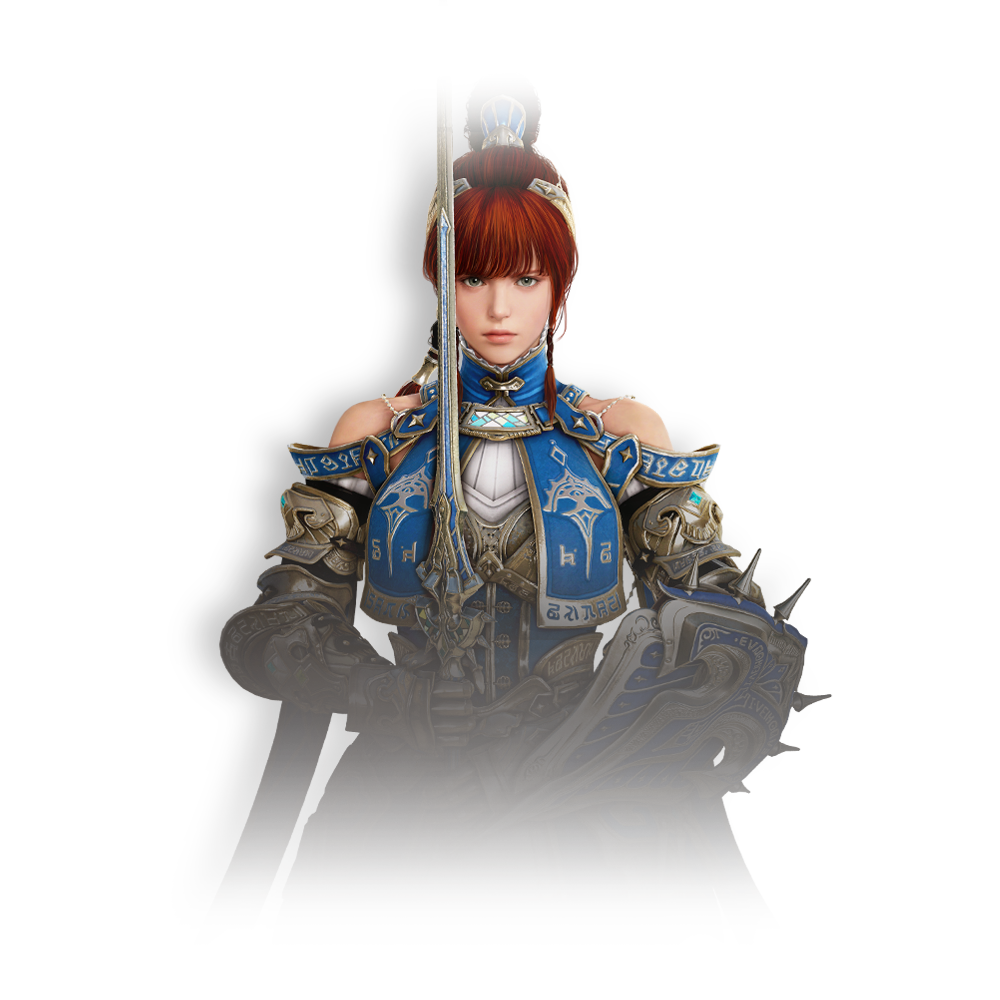
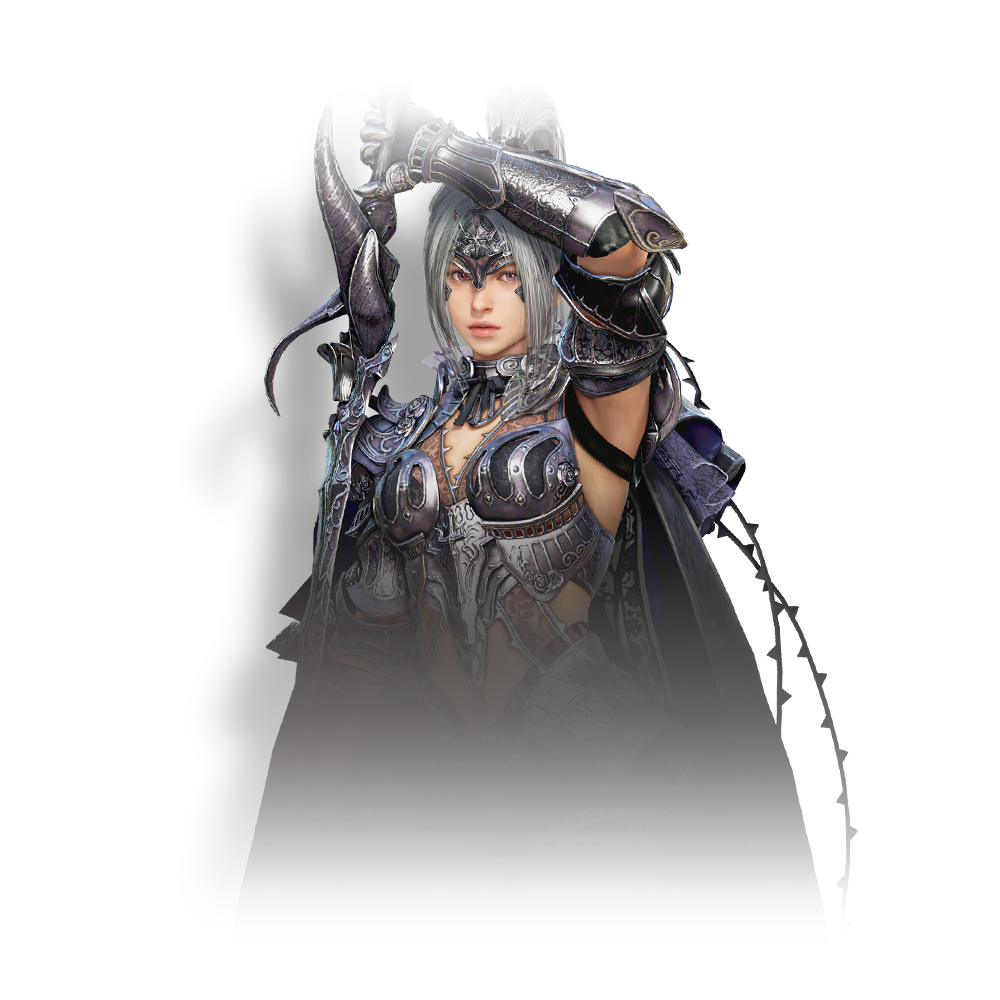
Valkyrie
Valkyrie leads the charge on the battlefield with her sword and shield.She channels Elion's sacred powers through her skills. Learn More


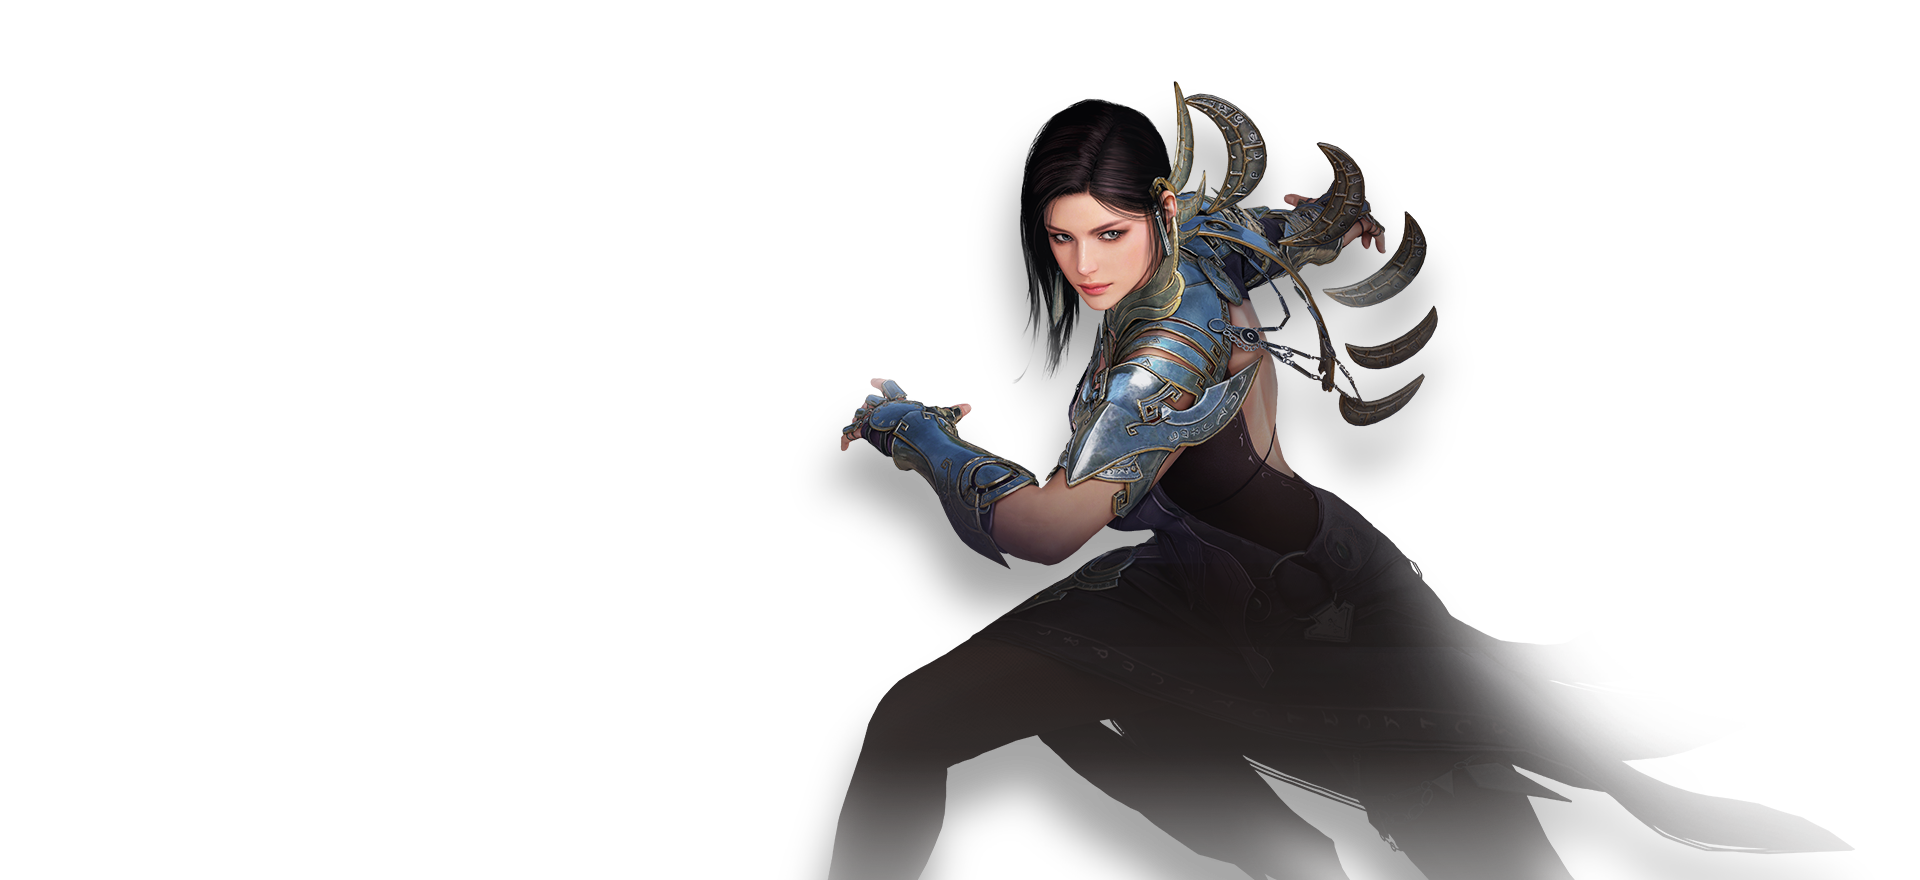
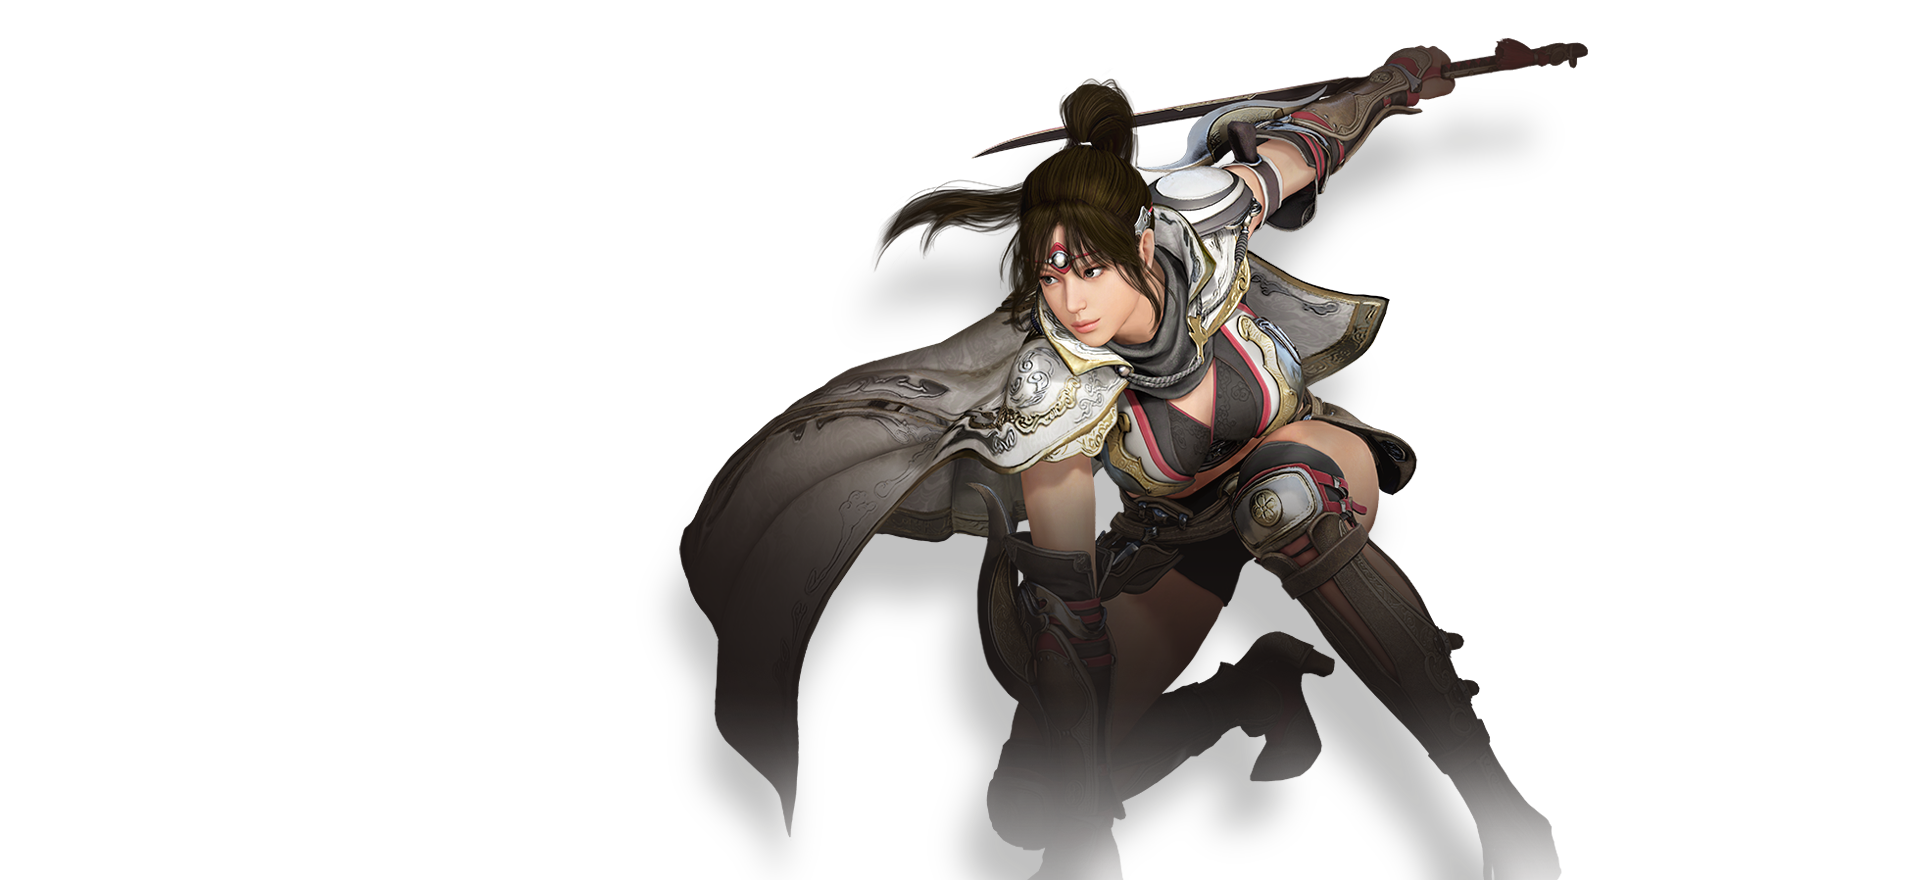
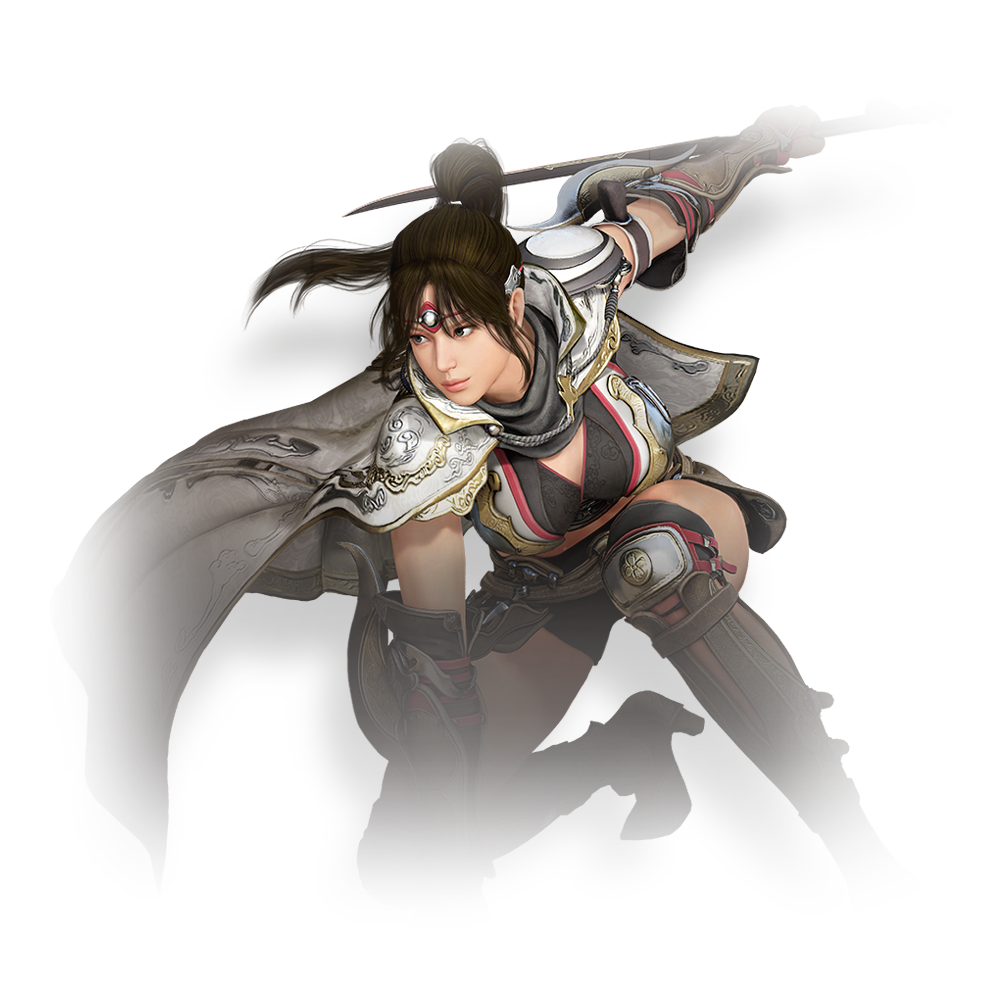
Kunoichi
Kunoichi is a deadly assassin that strikes with swords and cunning ninjutsu.She'll use any trick to ensure her victory. Learn More


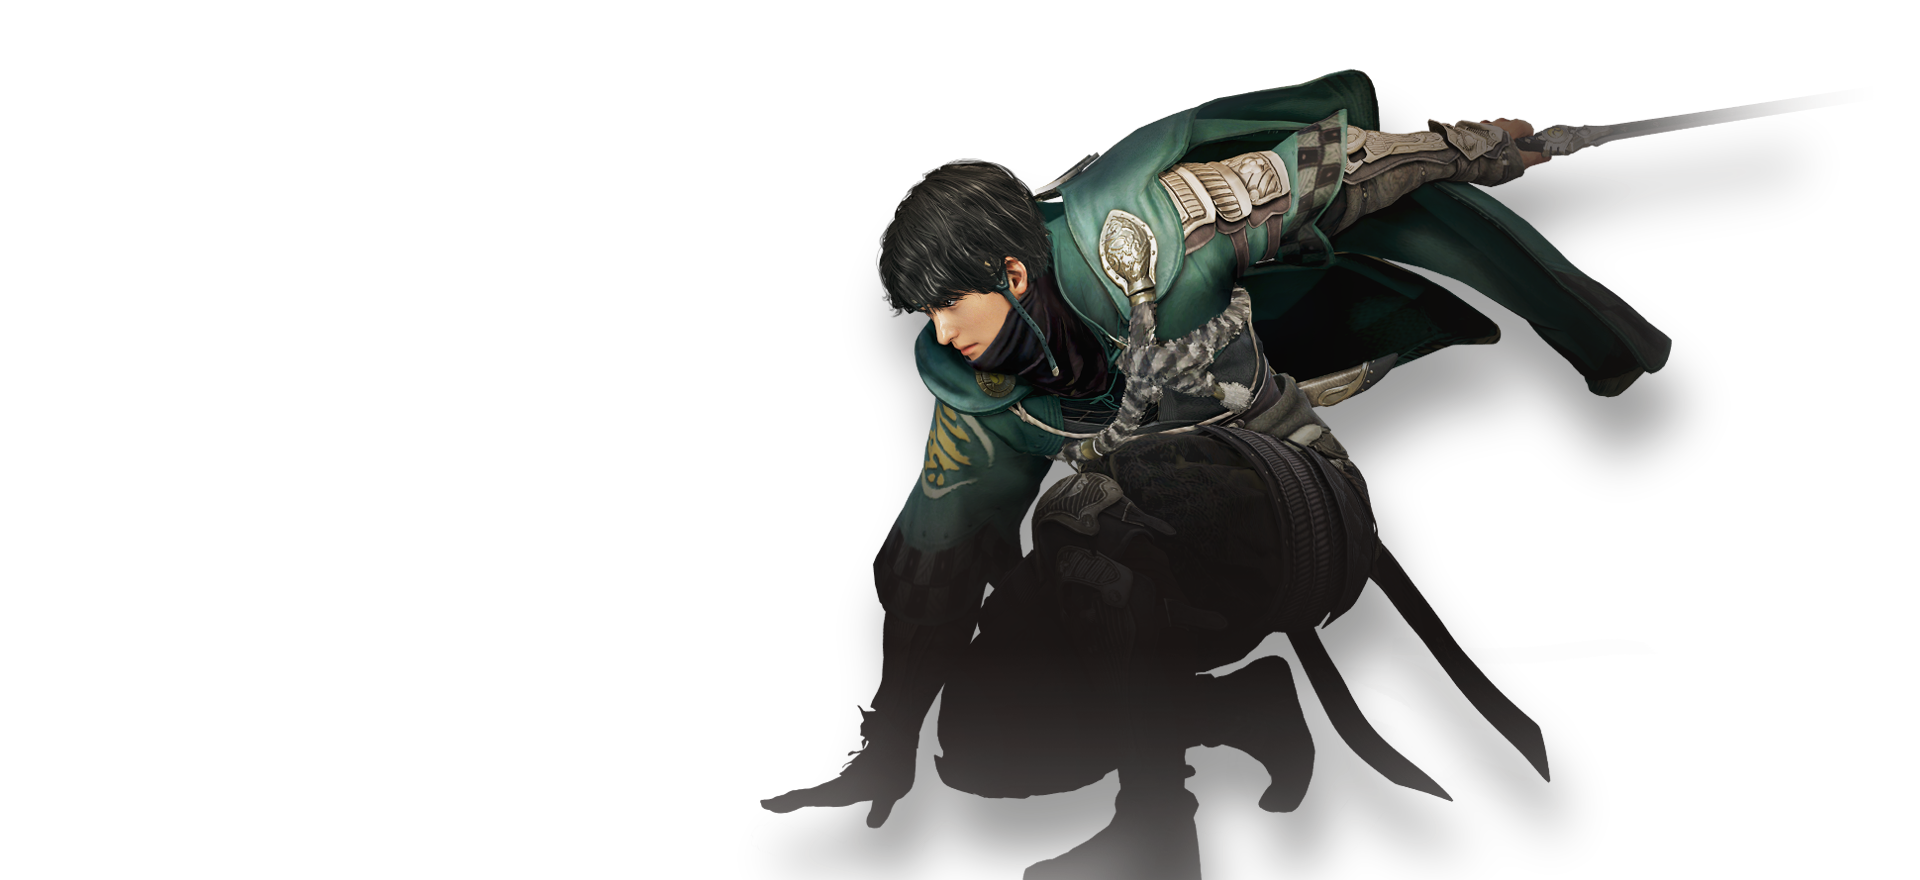
Ninja
Ninja is an expert in all lethal arts, be it stealth strikes with a blade or shuriken.His ninjutsu ensures he never leaves a trace. Learn More


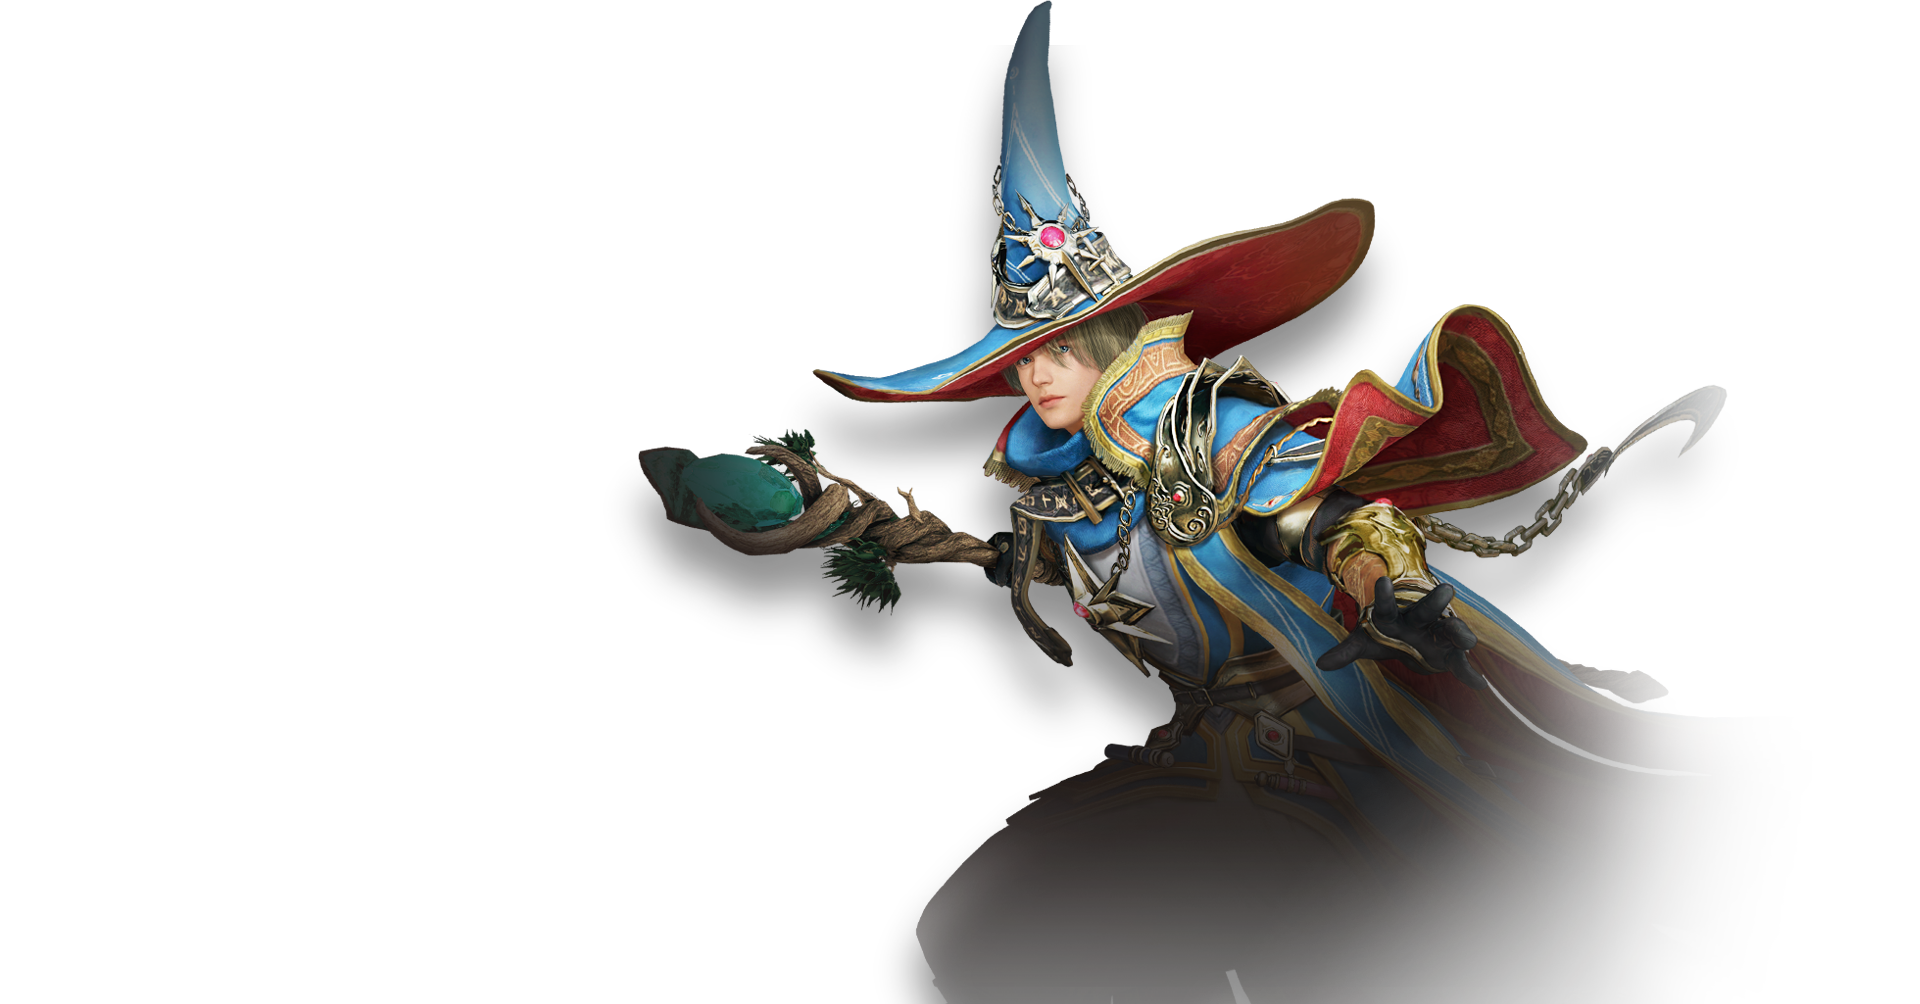
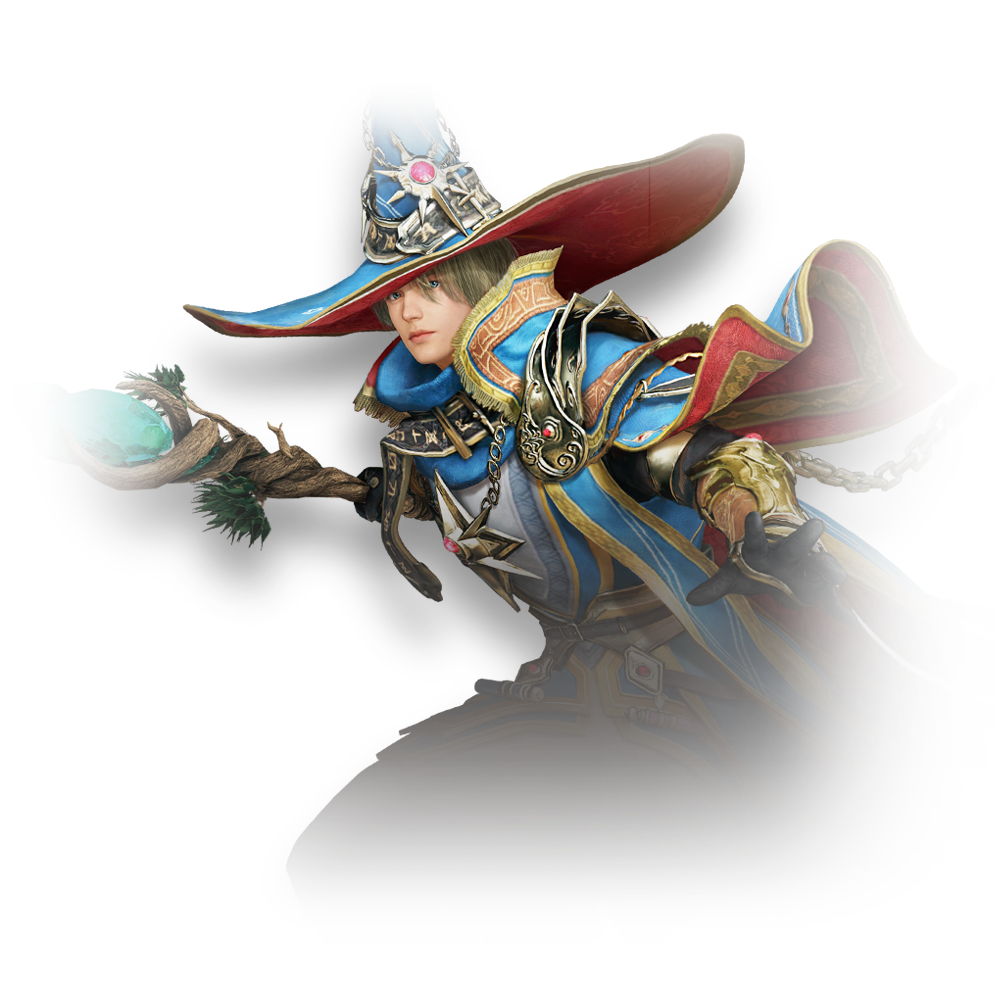
Wizard
Wizard is a ranged spellcaster who can controlthe forces of nature with his staff.
He will use primordial elements to obliterate his enemies. Learn More


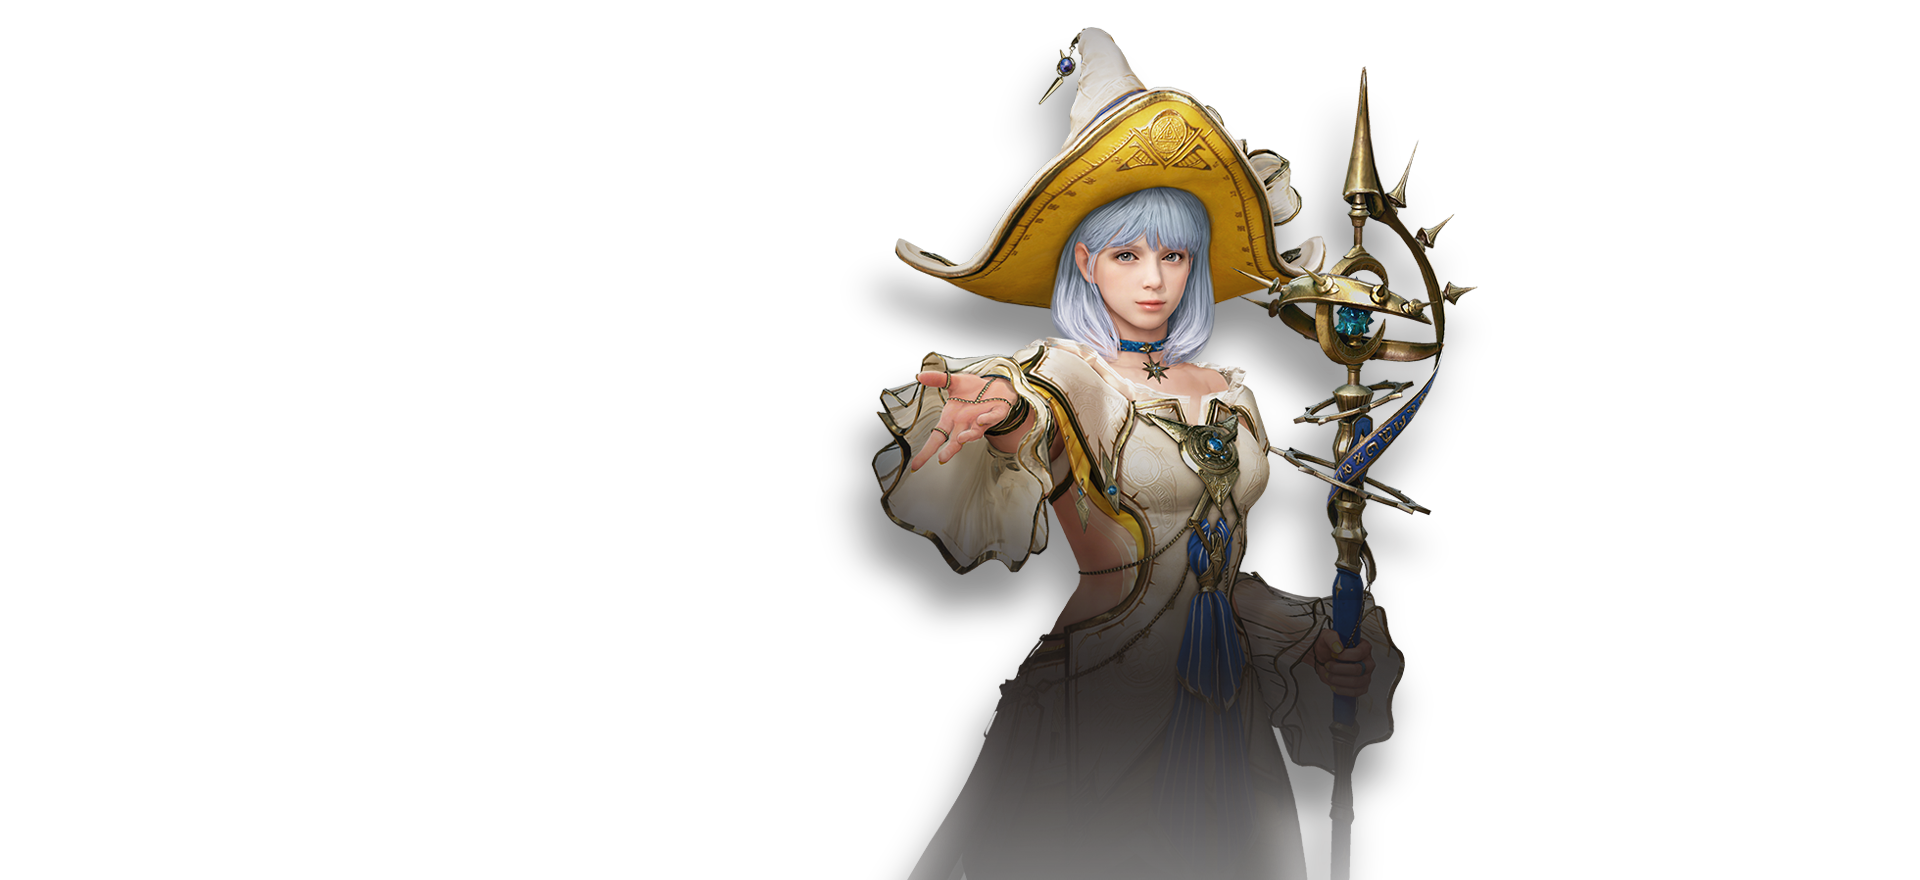
Witch
Witch is a ranged spellcaster who gained a firm grasp of magic at a young age.She uses various elements to dispatch her enemies from a distance. Learn More


Striker
Striker is a melee fighter who uses his body as a deadly weapon.Armed with gauntlets as weapons, his fists pulverize enemies
in hand-to-hand combat. Learn More


Mystic
Mystic is a hand-to-hand brawler who rushes headlong into a fight.Her mastery of martial arts lets her command any battle. Learn More


Lahn
Lahn is a melee fighter whose crescent pendulum allows herto lash out at lightning speed. She can take on whole hordes
of enemies with dazzling grace. Learn More


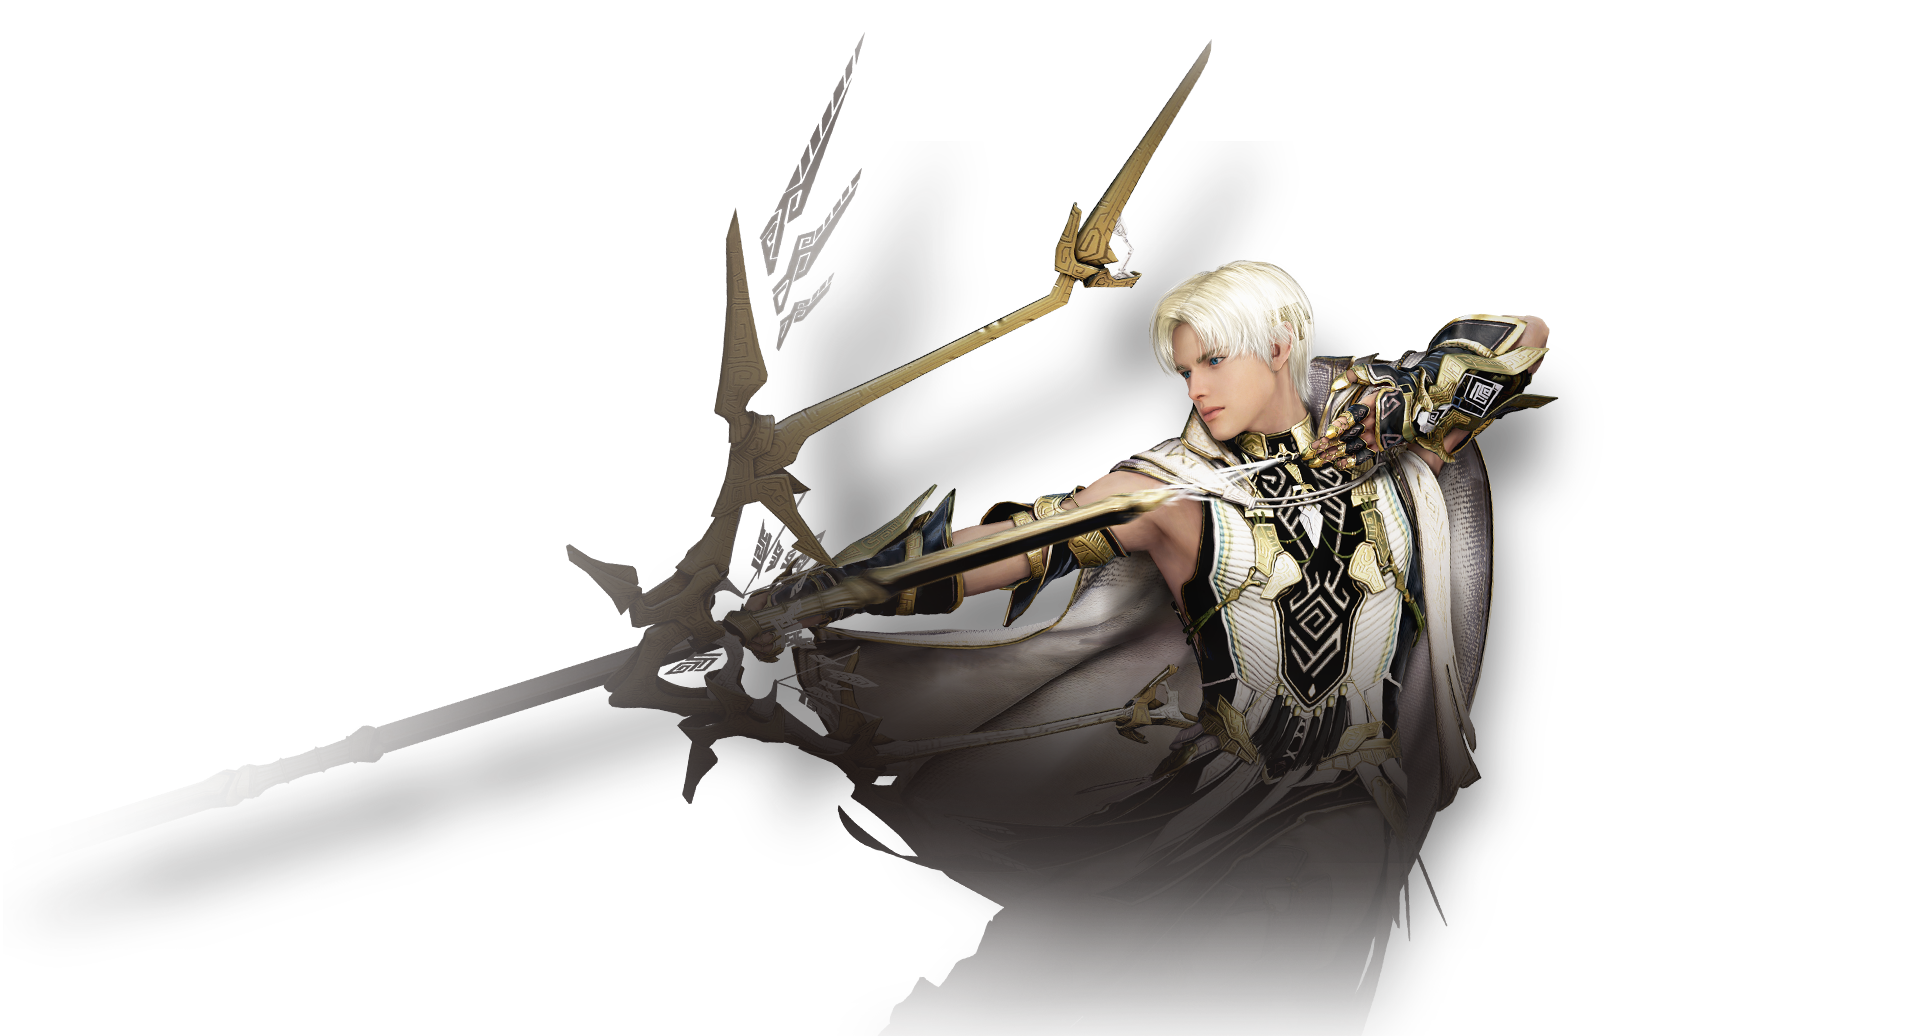
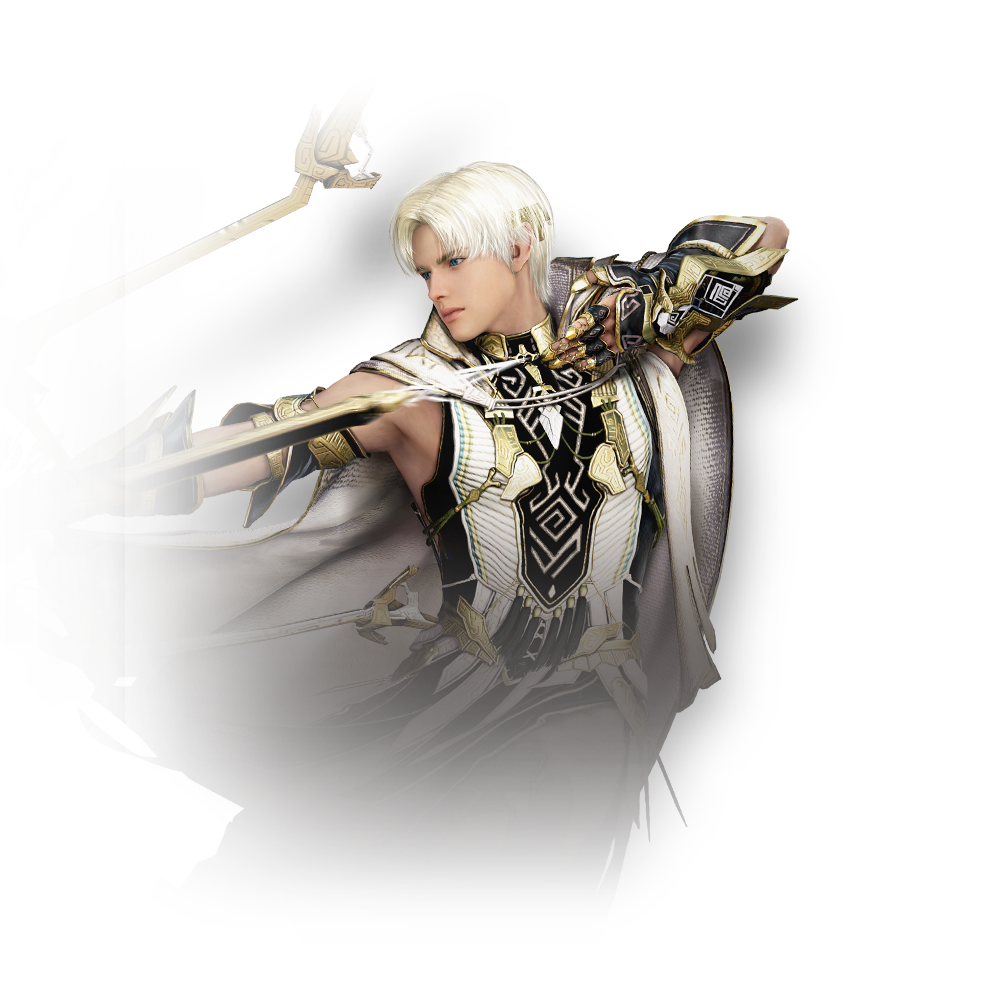
Archer
Archer is an agile ranged class that shoots enemies from a distance.His grace on the battlefield ensures enemies are dead before he's ever touched. Learn More


Dark Knight
Dark Knight is a melee fighter that wields the lethal yet beautiful Kriegsmesser.She combusts spirits to infuse her attacks with their power. Learn More


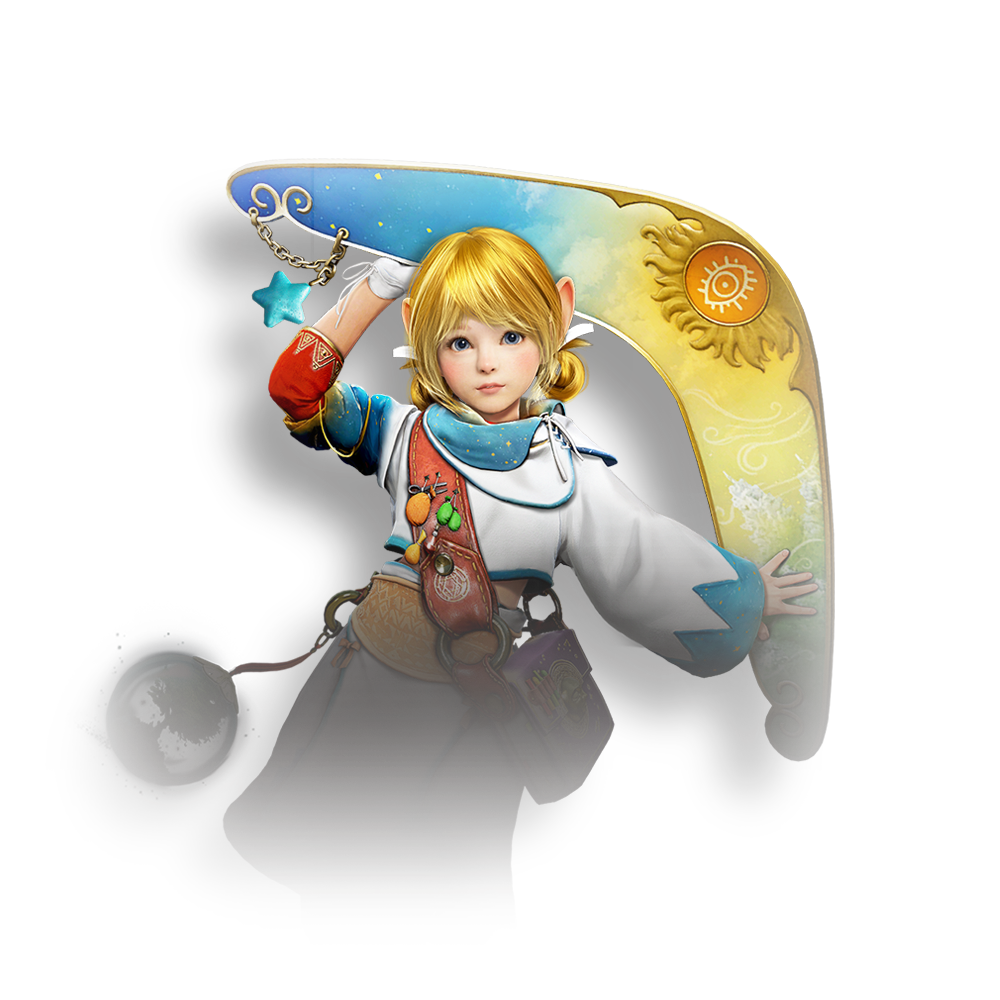
Shai
Shai is a support class that can supply her teampowerful combat buffs. Riding atop her florang,
she can easily weave in and out of battle. Learn More


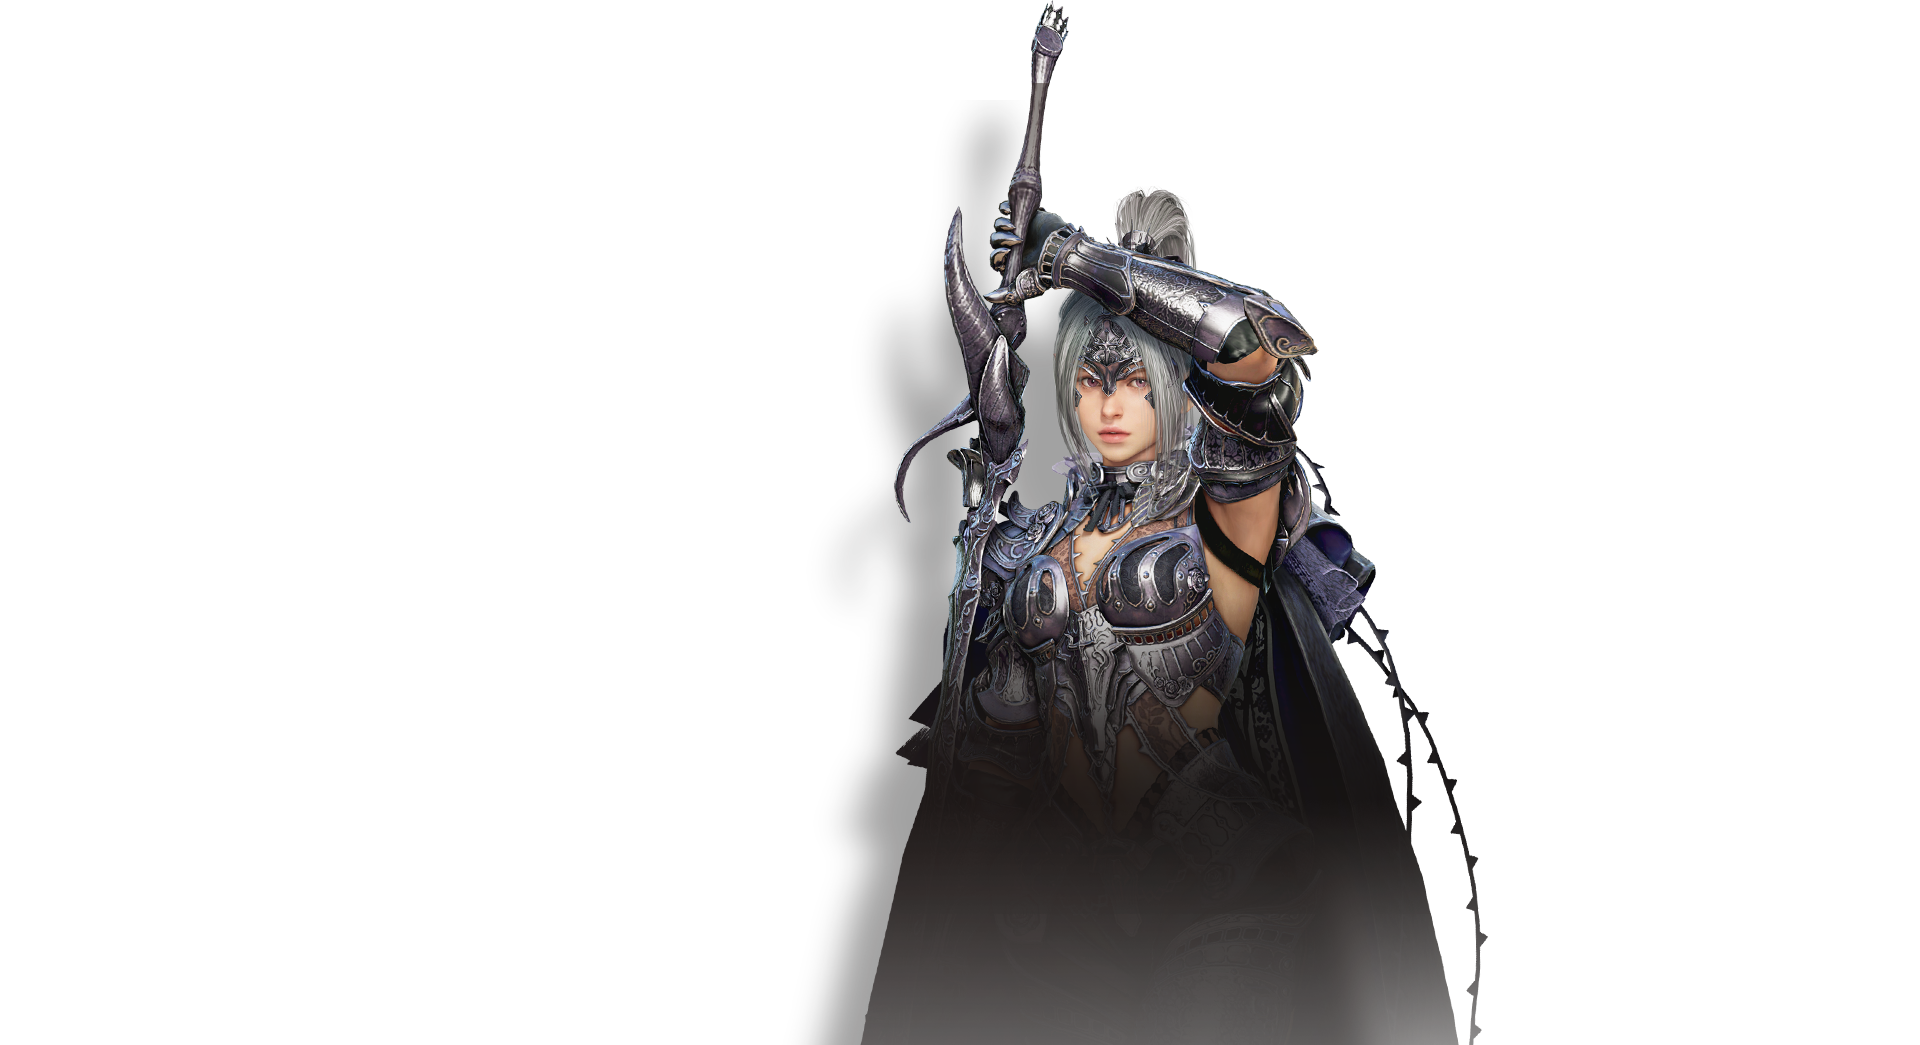
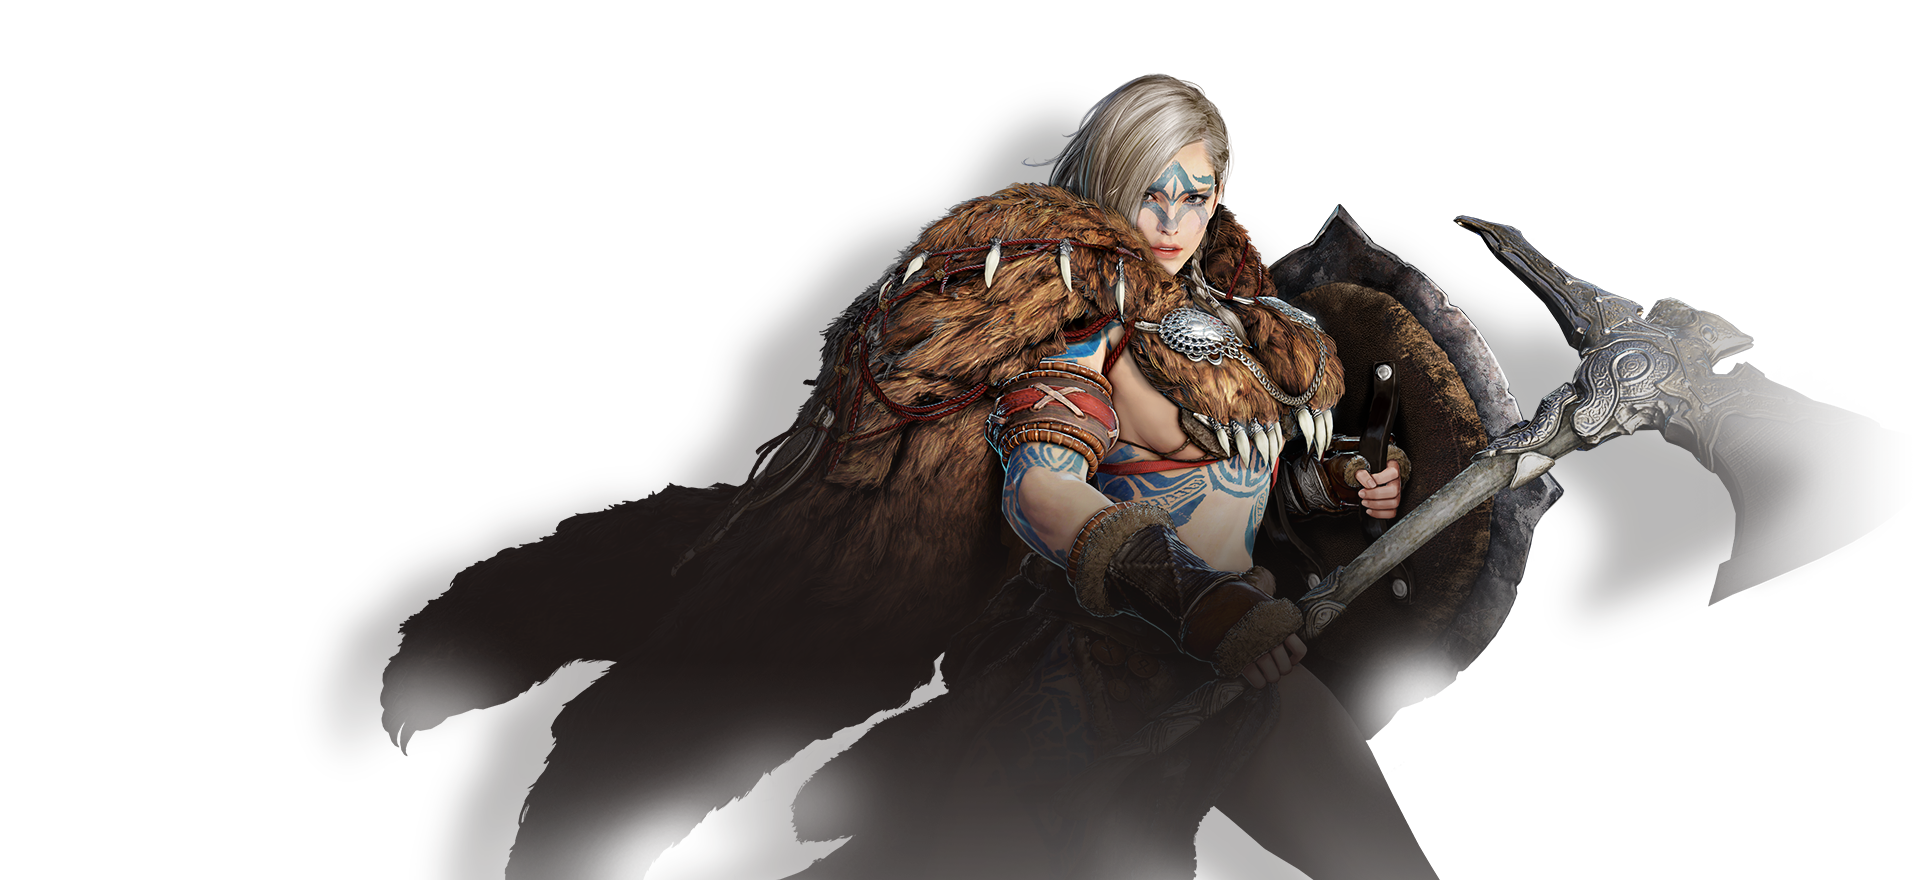
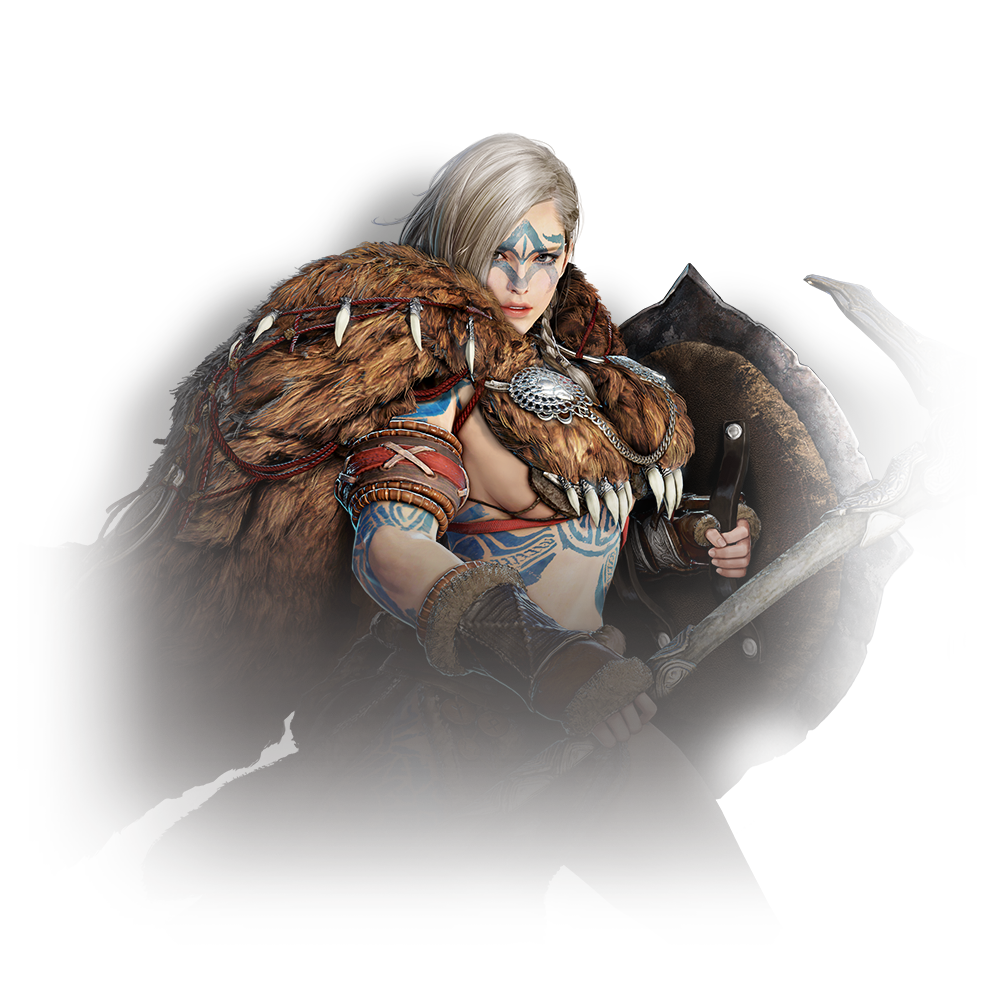
Guardian
Guardian is a melee fighter who wields shield and battle axeto crush her enemies with heavy strikes.
She is as merciless as the mountain she hails from. Learn More


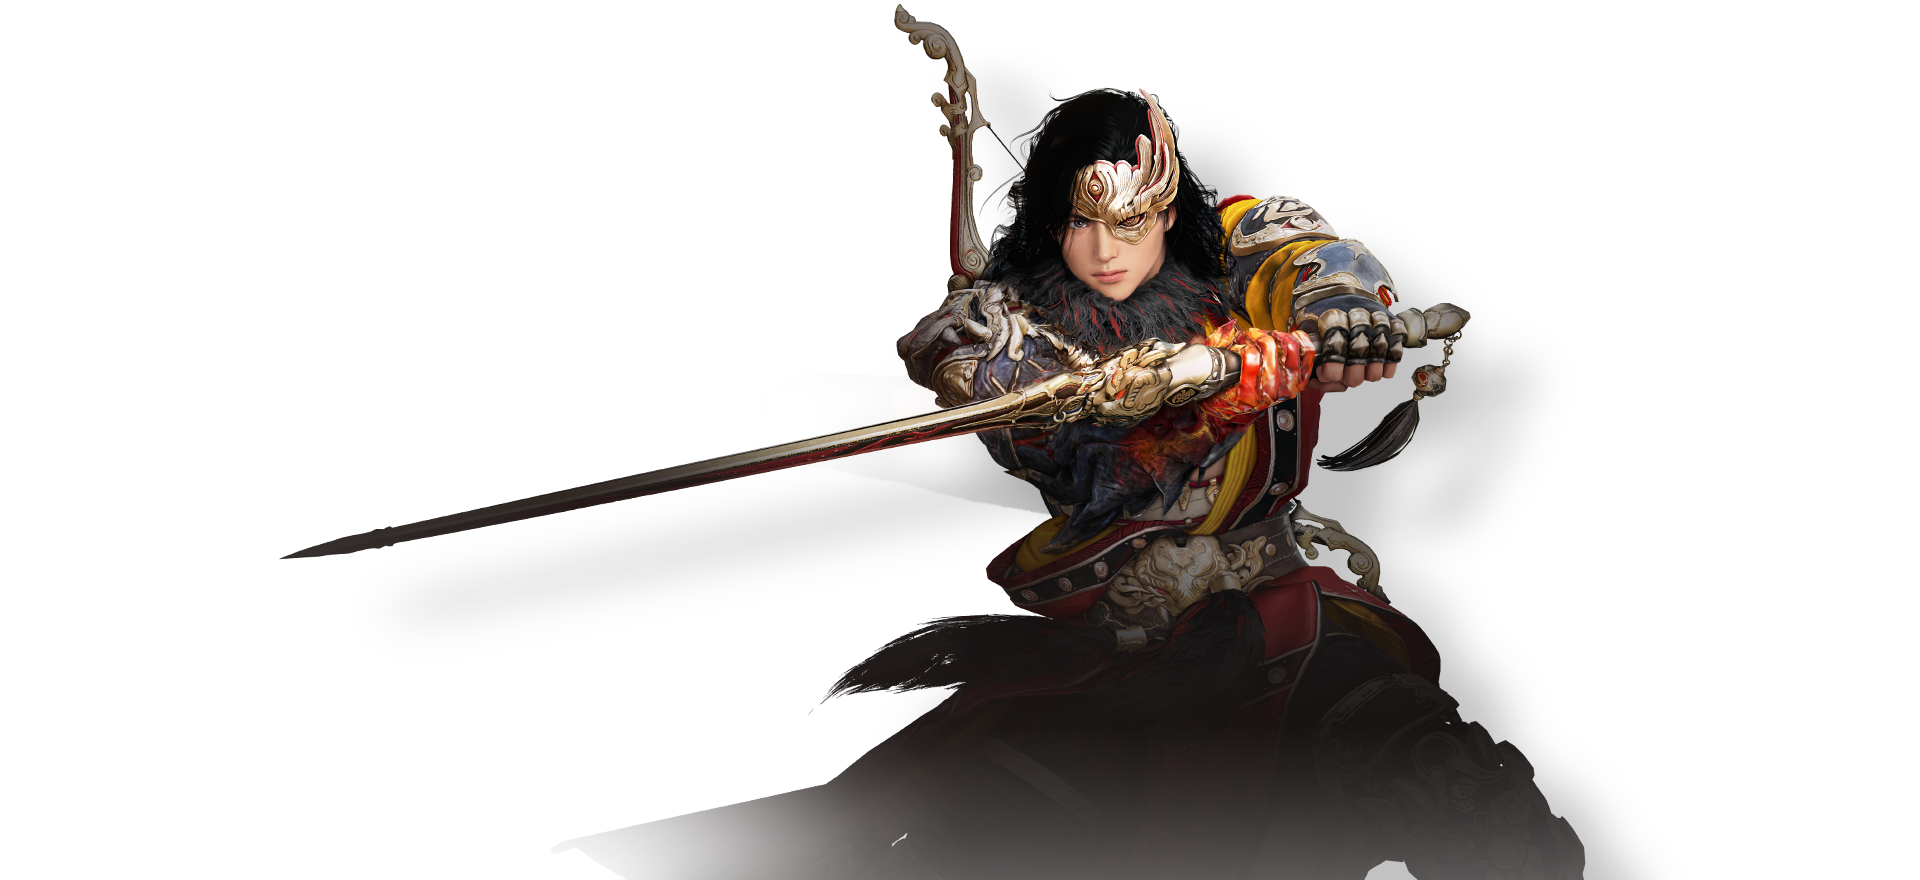
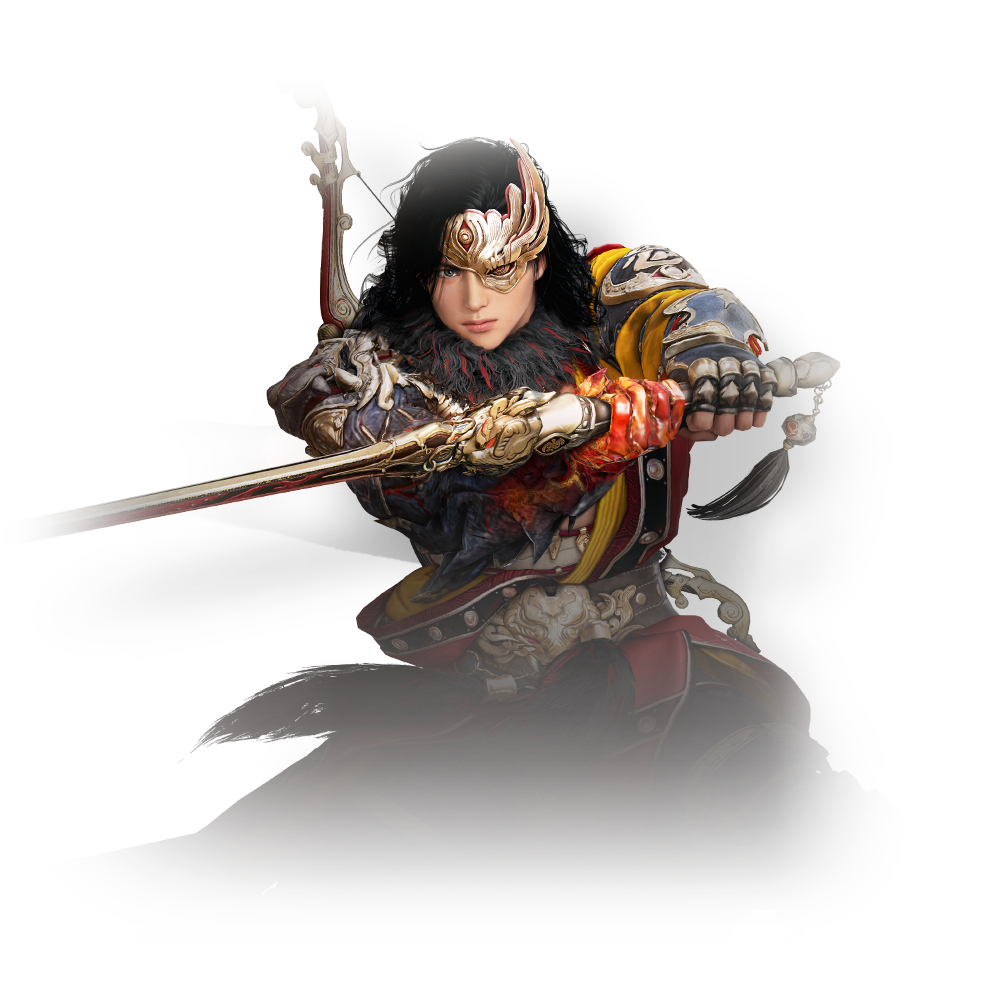
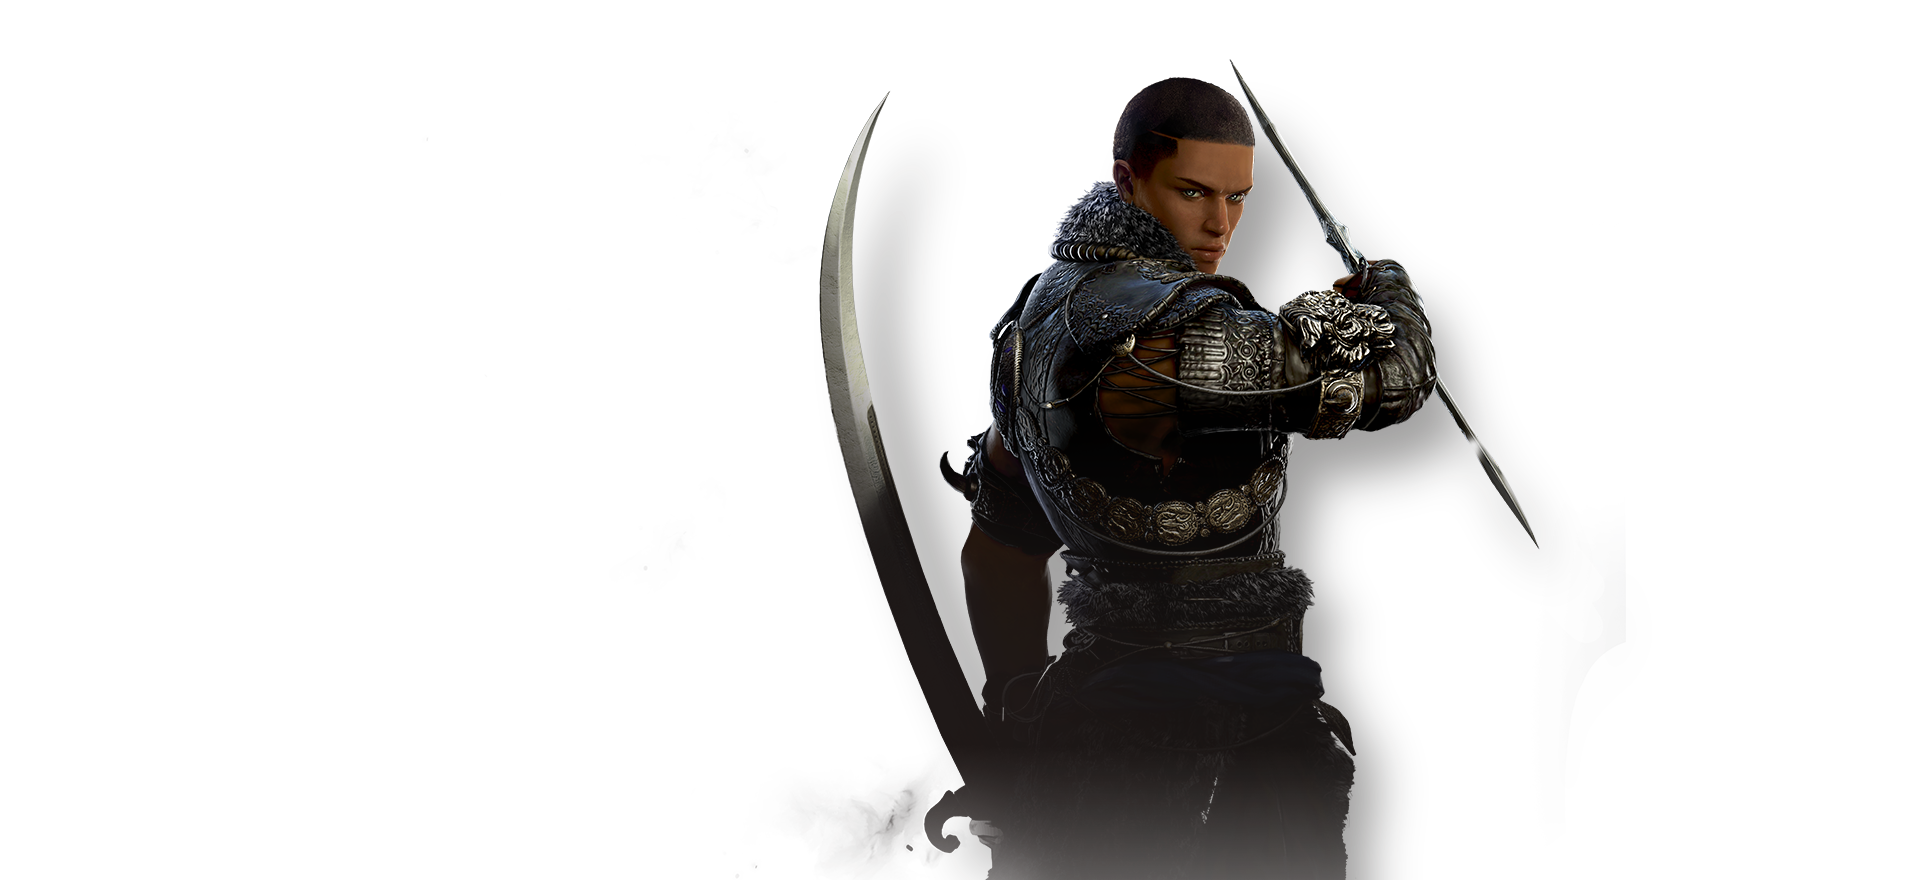
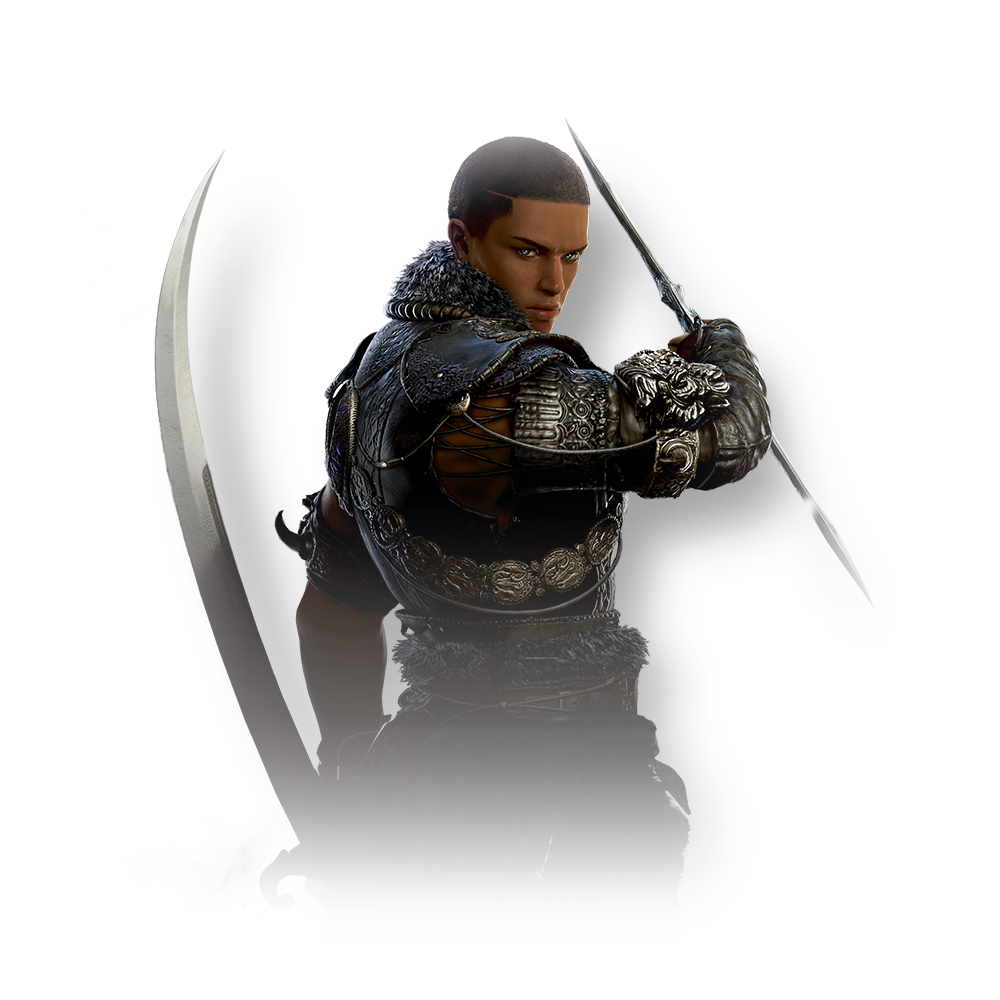
Hashashin
Hashashin is a mid-range fighter who wields the power of the sandsto do his bidding. Enemies caught off-guard are quickly dispatched
by his shamshir. Learn More


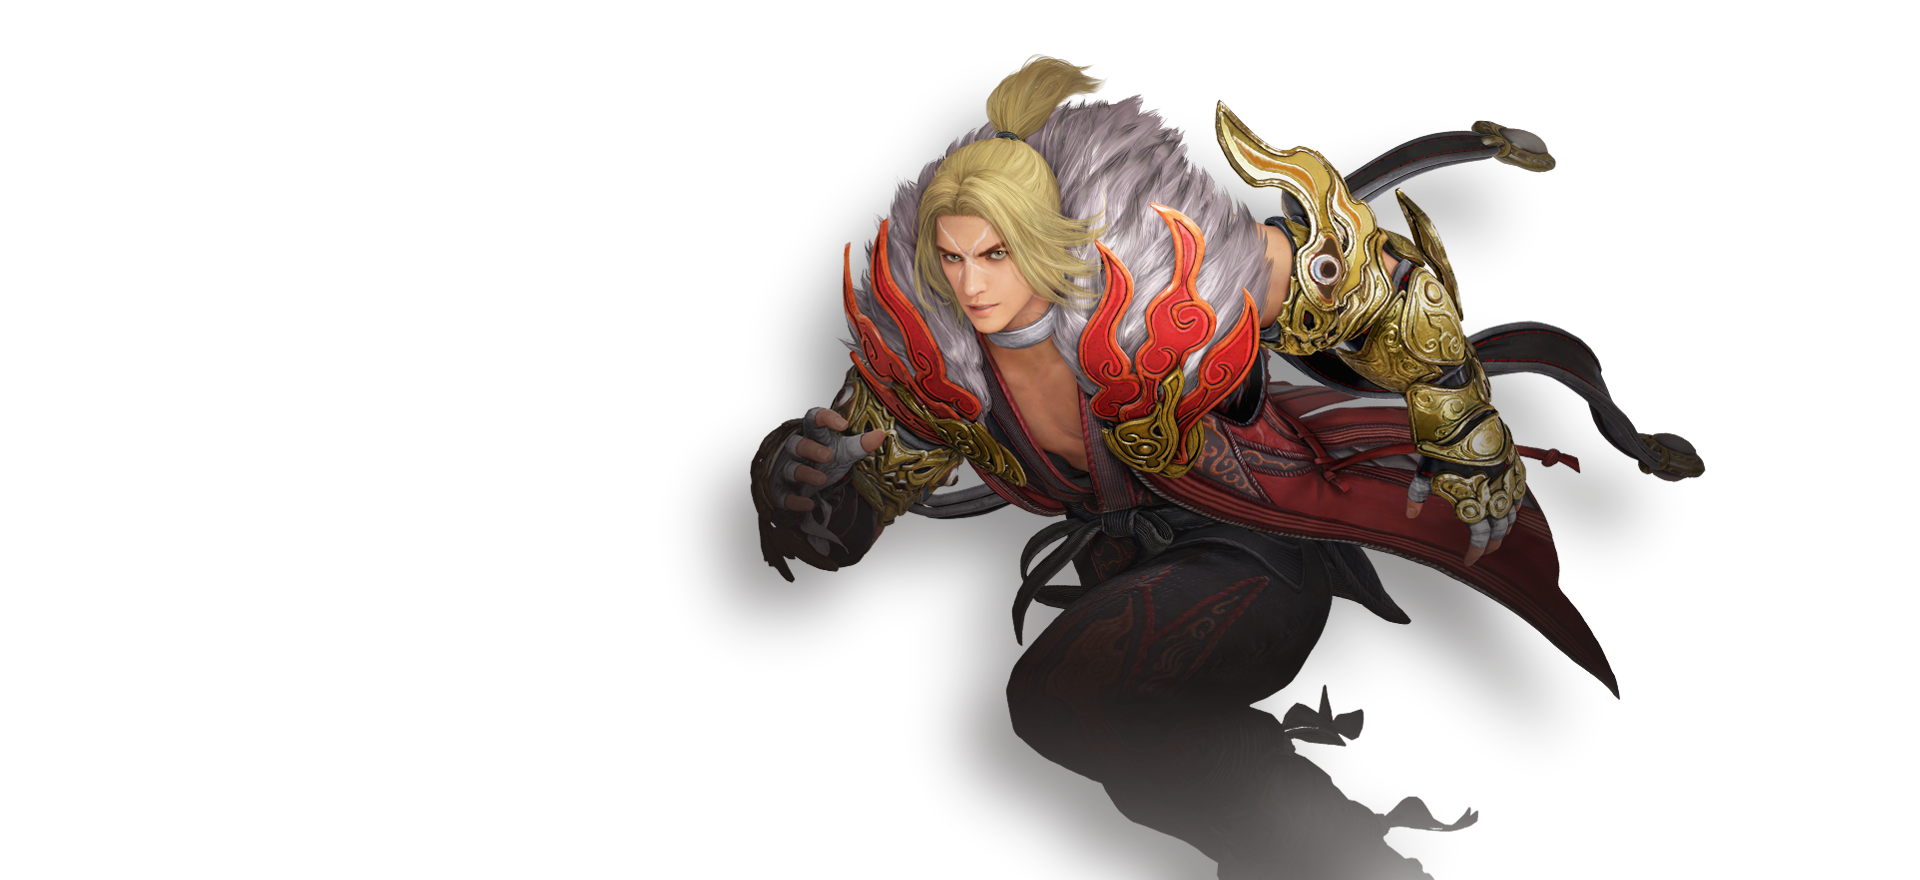
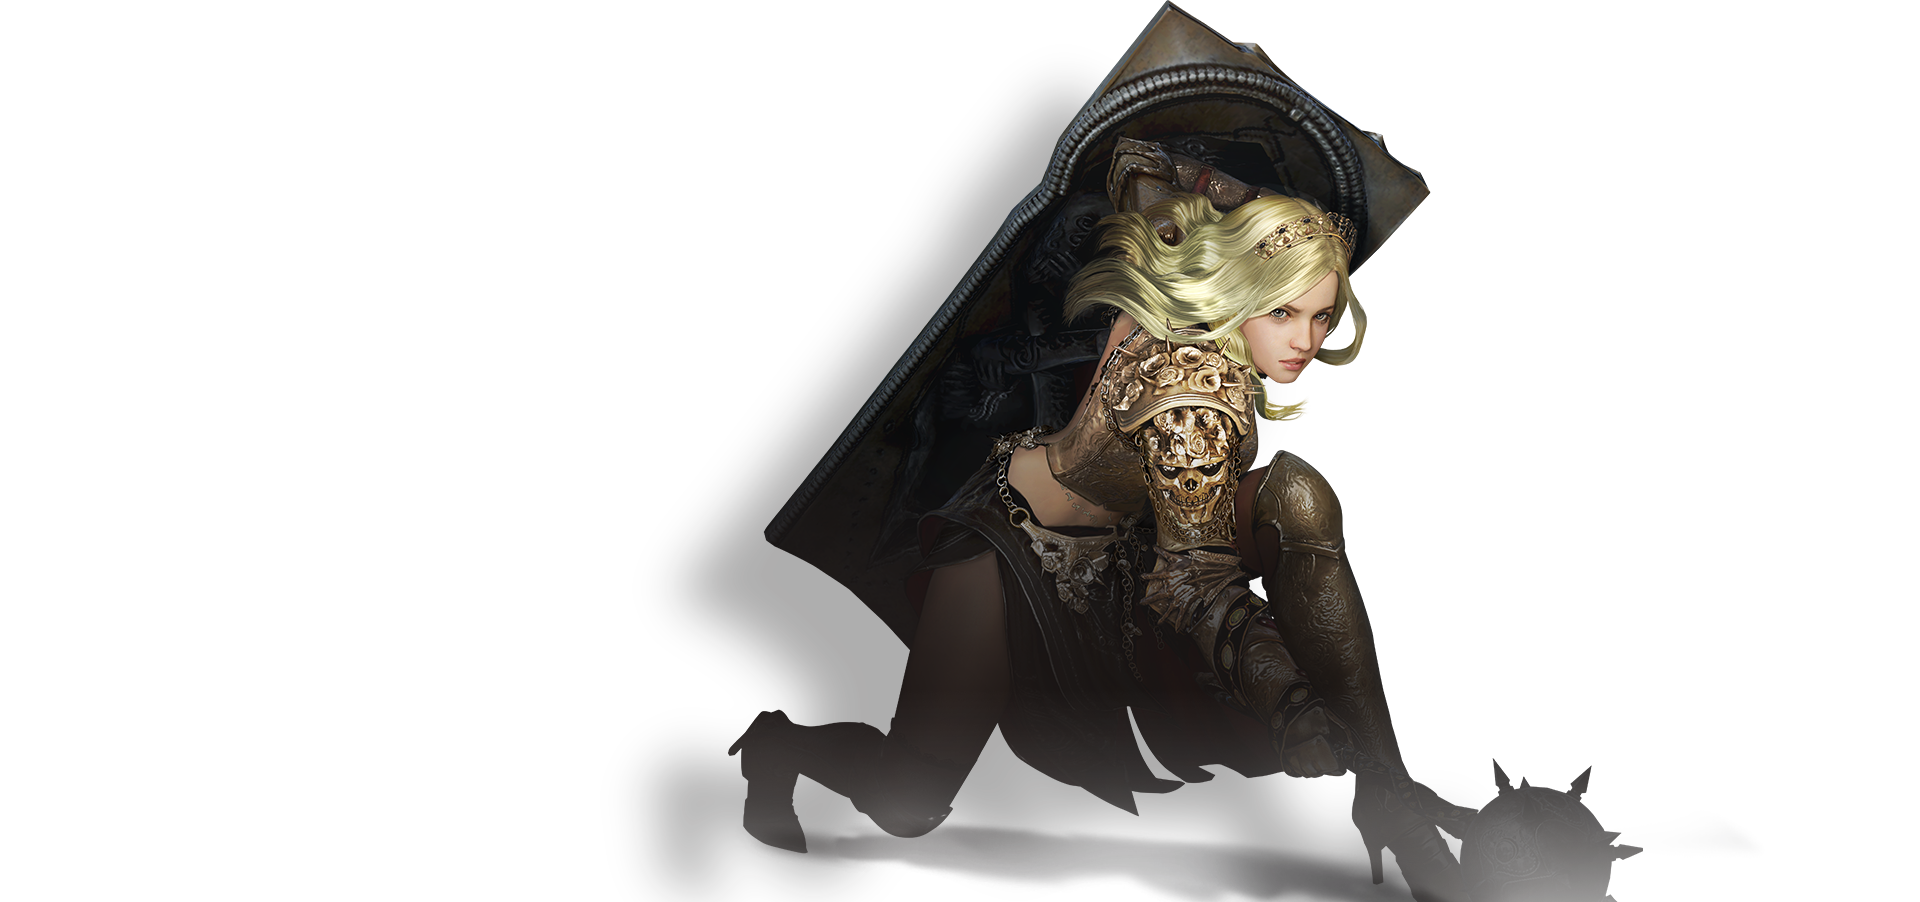
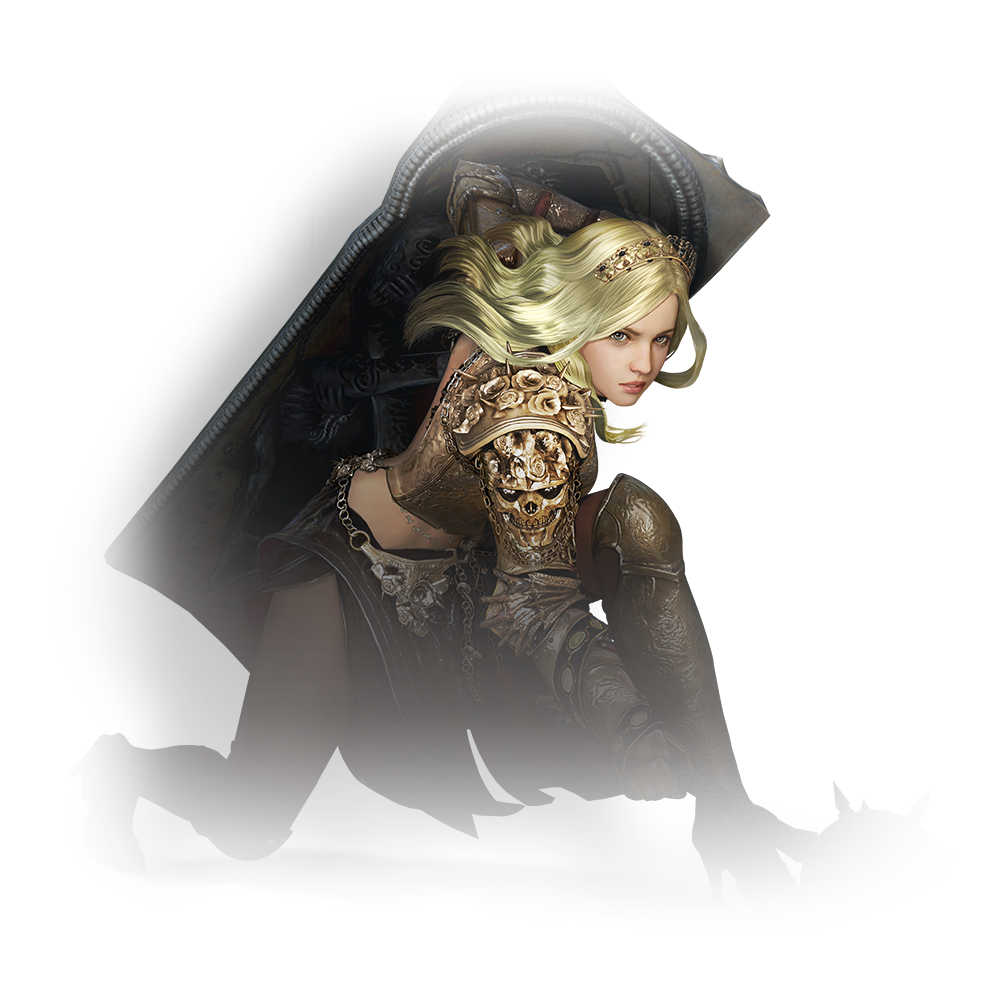
Nova
Nova is a mid-range fighter who wields a massive tower shield and morning star.She can summon spirit guards to multiply her strength and shore up her defenses. Learn More


Sage
Sage is a ranged caster who wields the cube-shaped kyve.This ancient weapon manipulates time and space to call forth
an array of powerful, offensive magics. Learn More


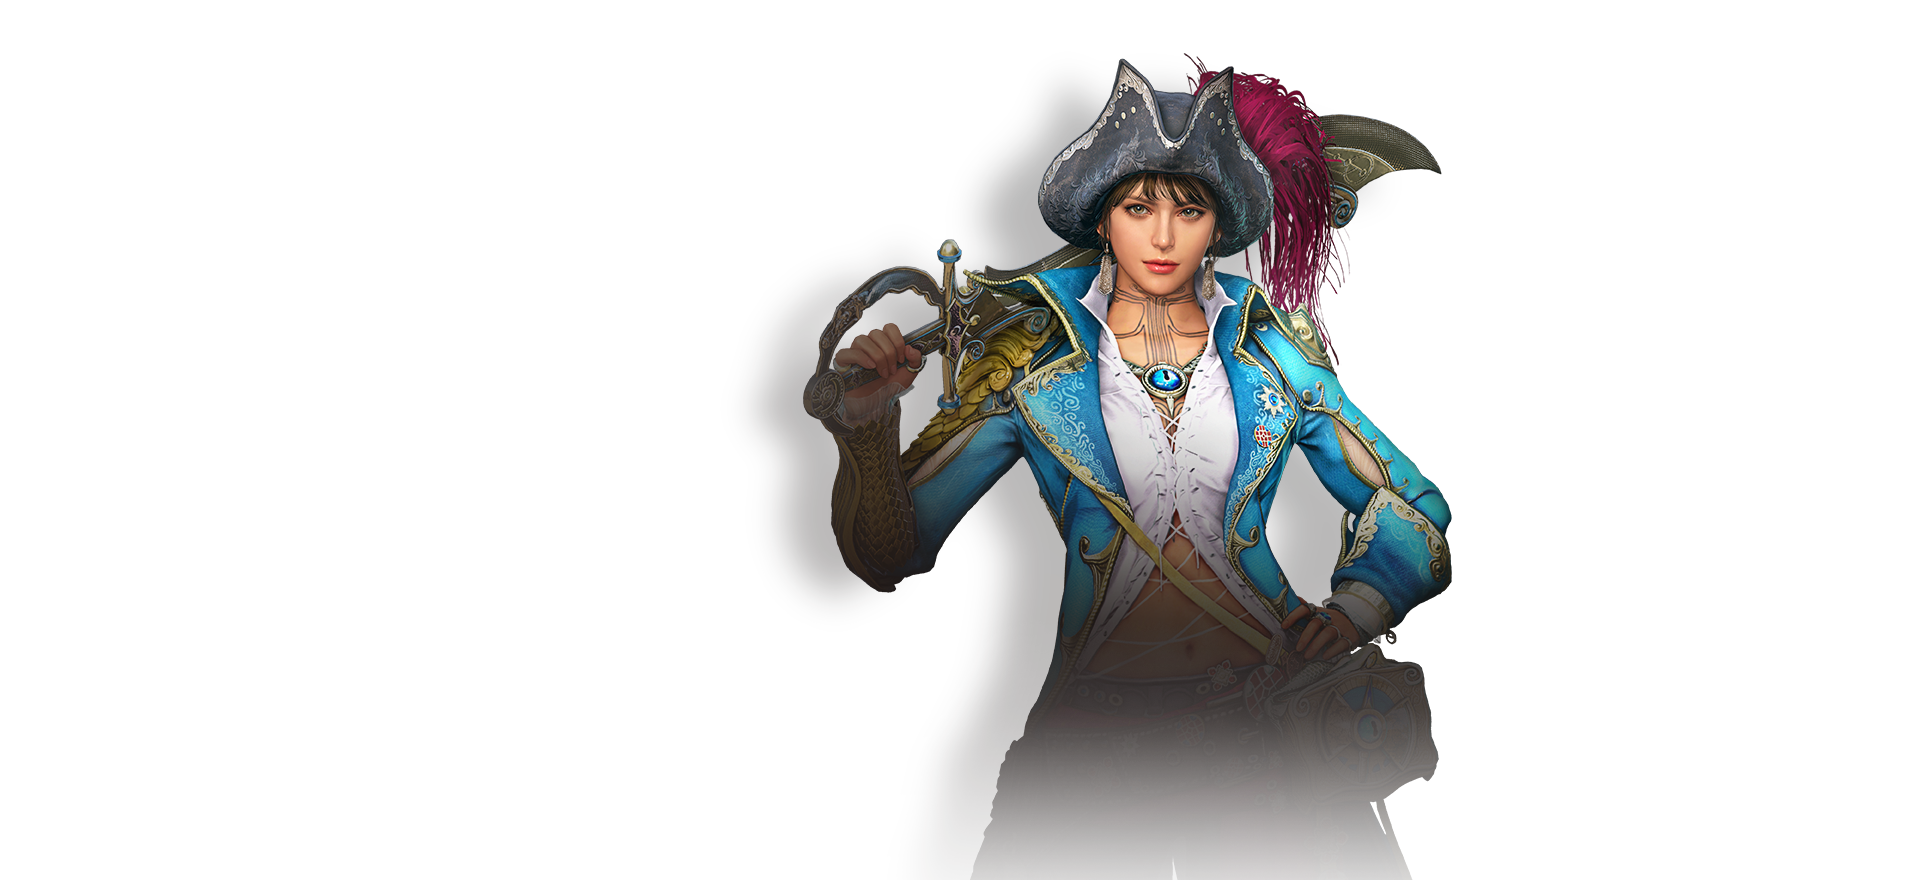
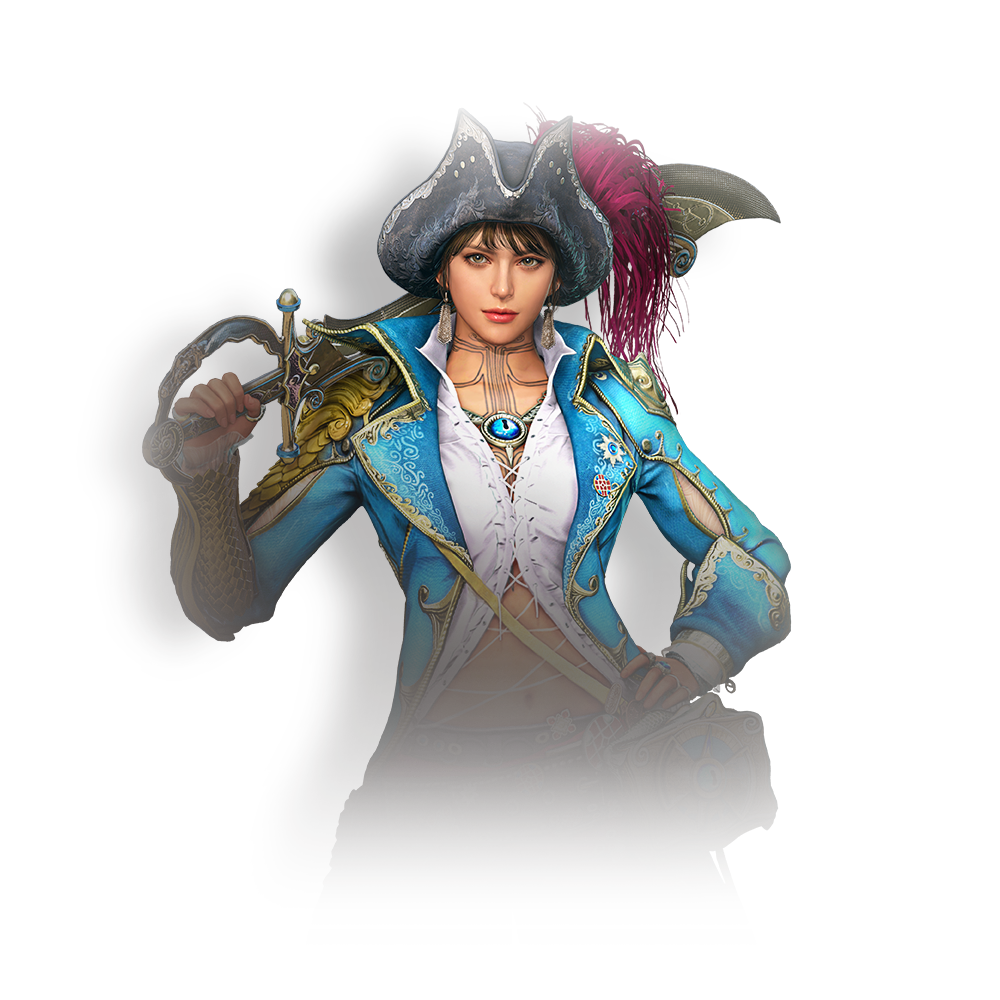
Corsair
Corsair is a melee fighter who can transform into a Mermaid to summon the tides,while brandishing her flexible blade and rope to deal spontaneous attacks. Learn More


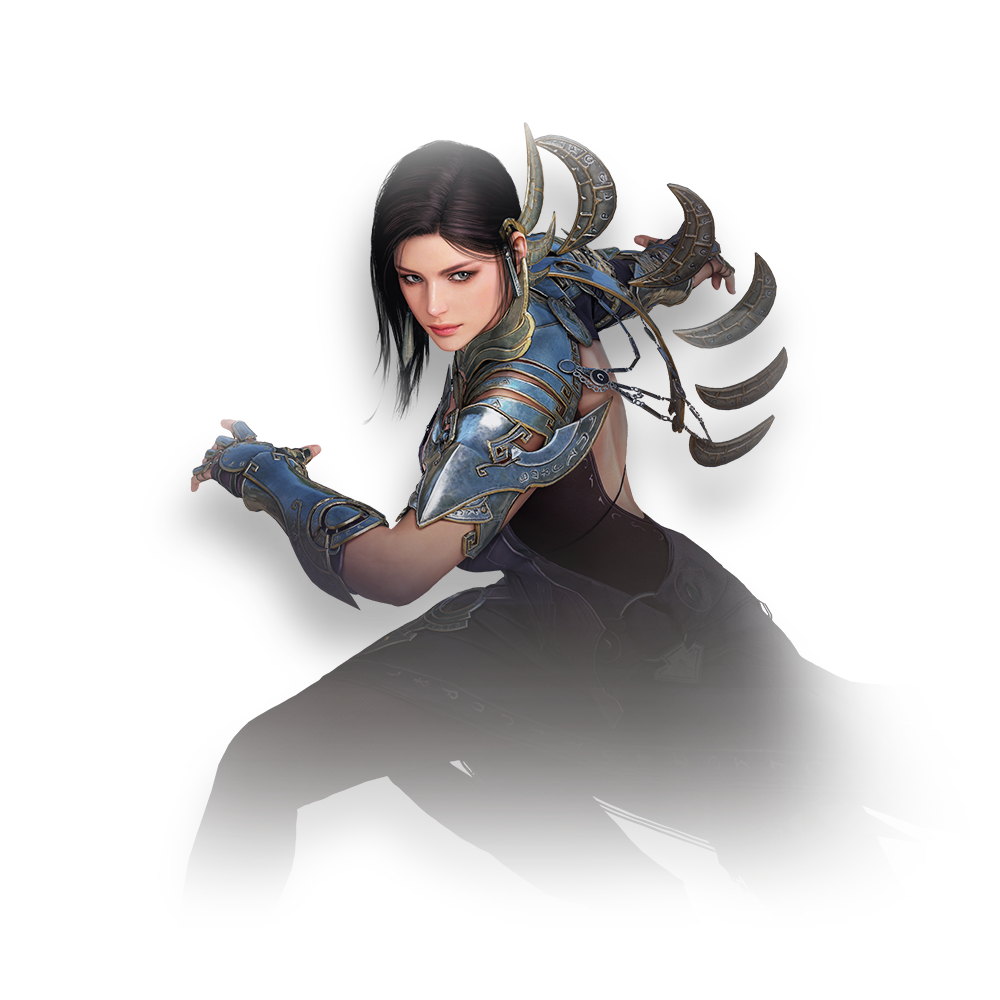
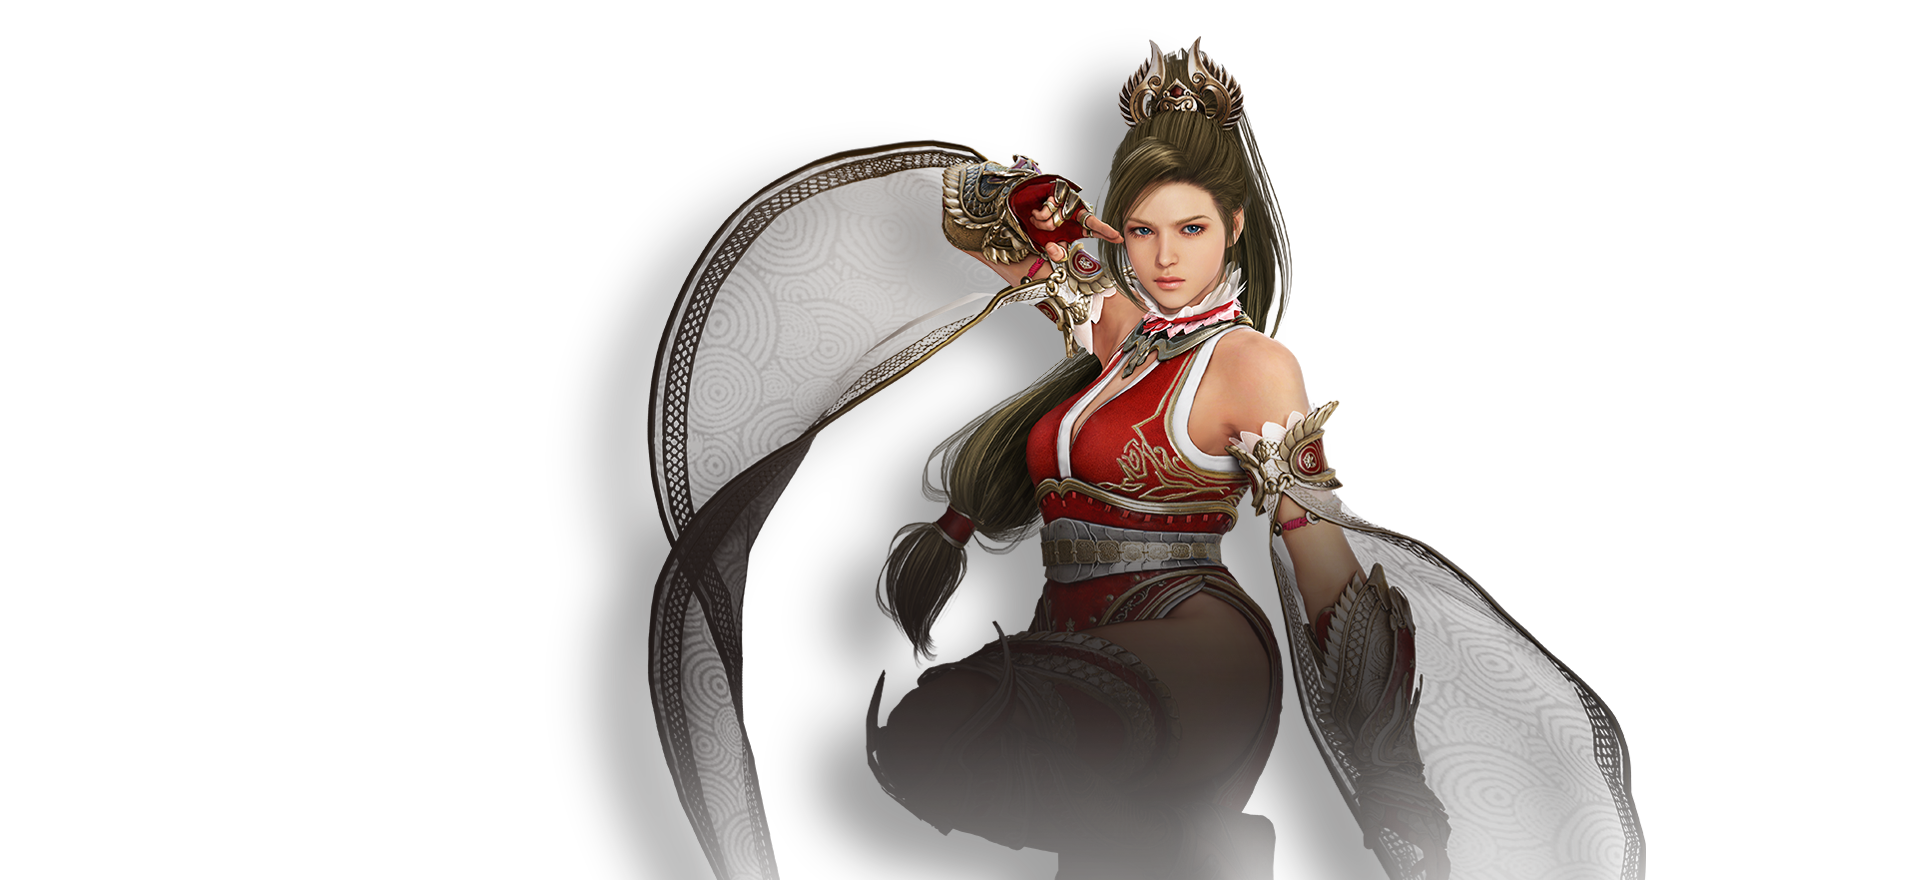
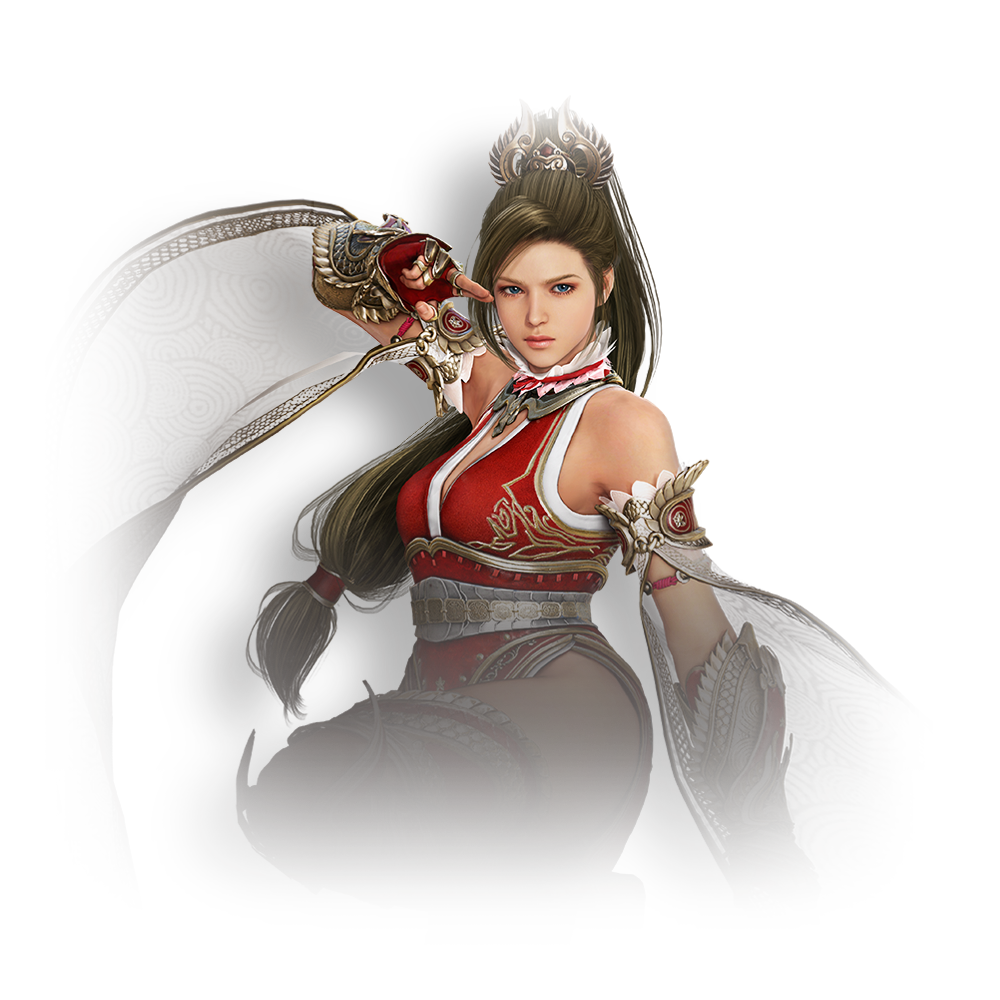
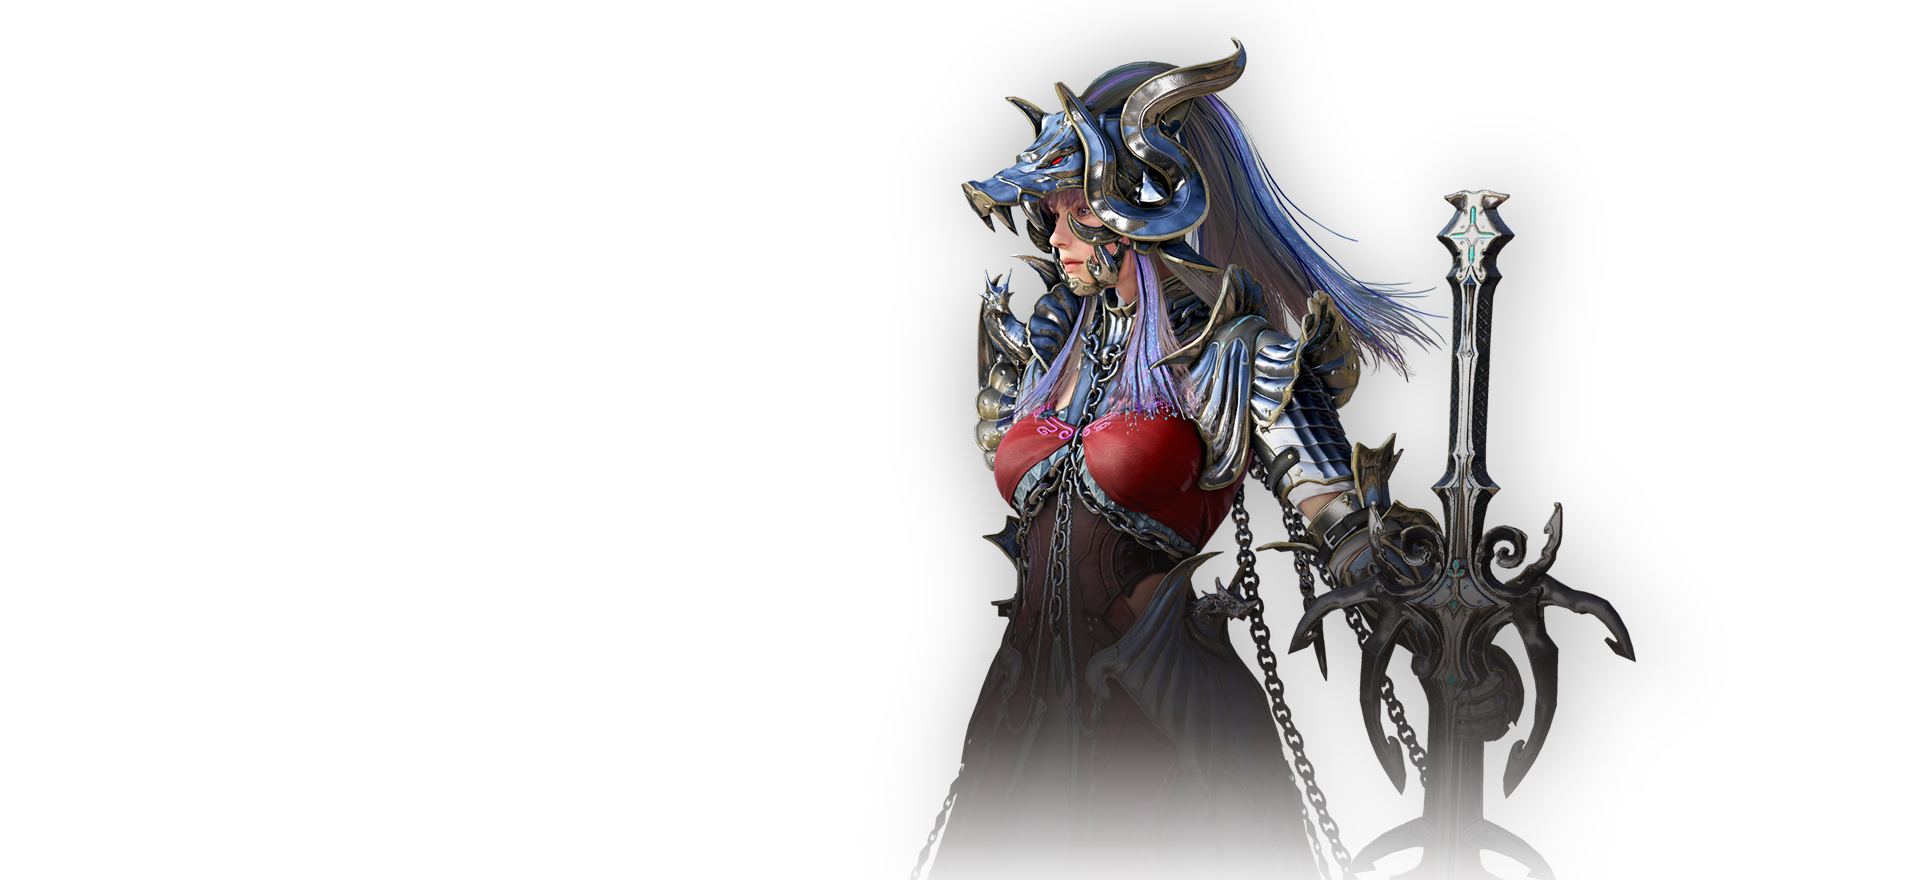
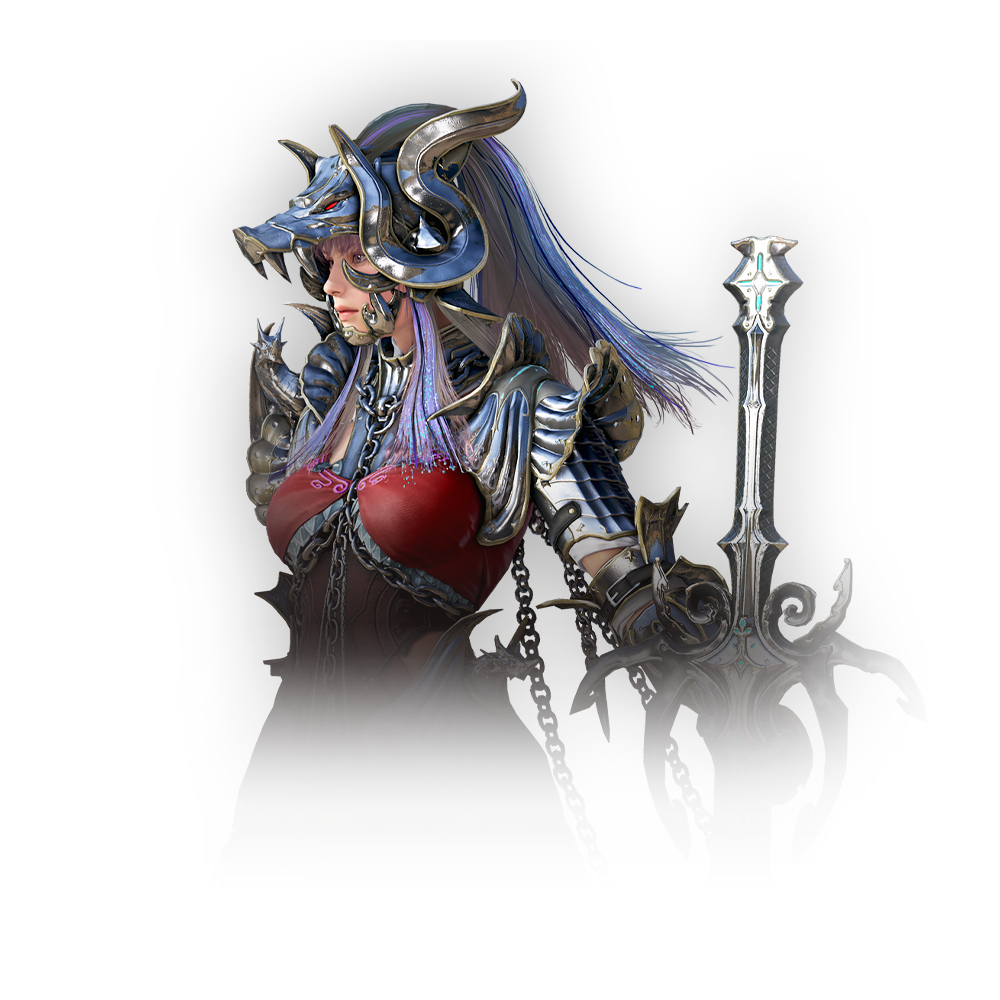
Drakania
Drakania is a melee class that can steal the energy of her opponents,then releases it to her two-handed sword Slayer to inflict a powerful blow. Learn More


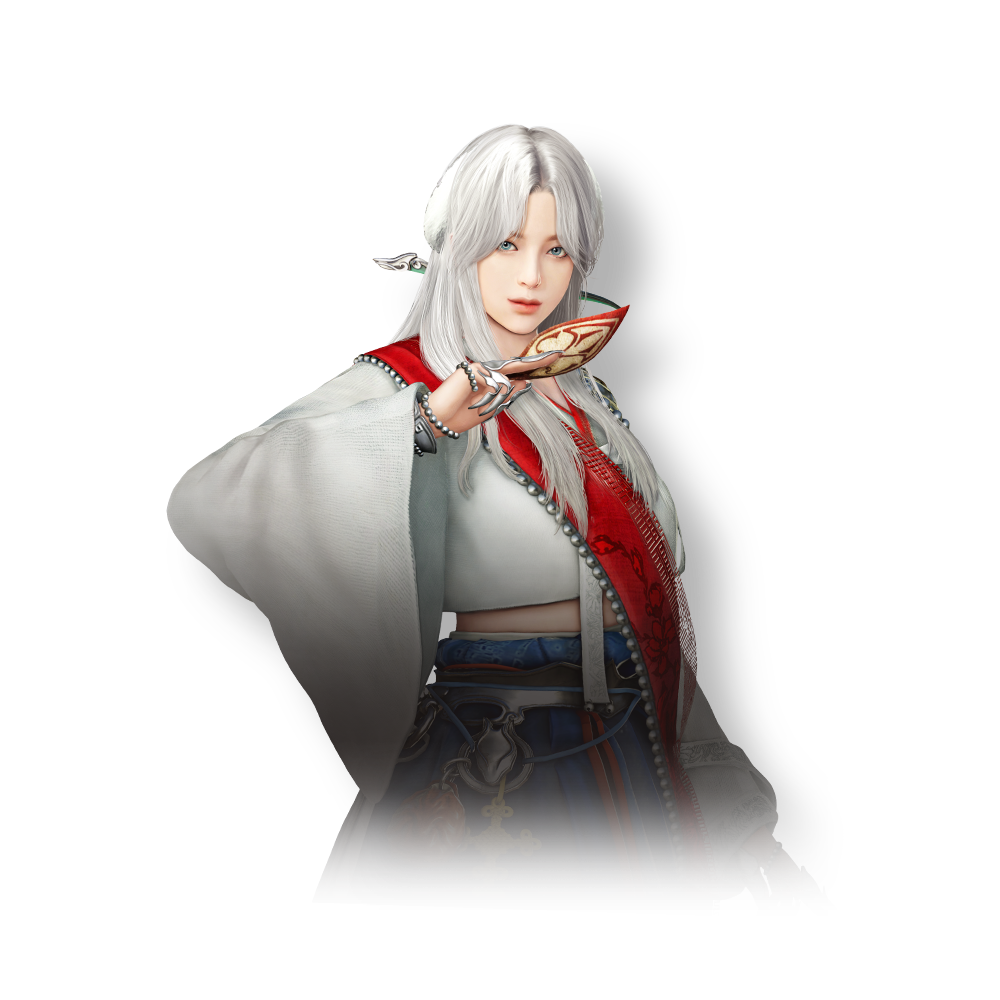
Woosa
A fan-wielding mid- to melee range class,Woosa summons butterflies, wind, and flows like water. Learn More
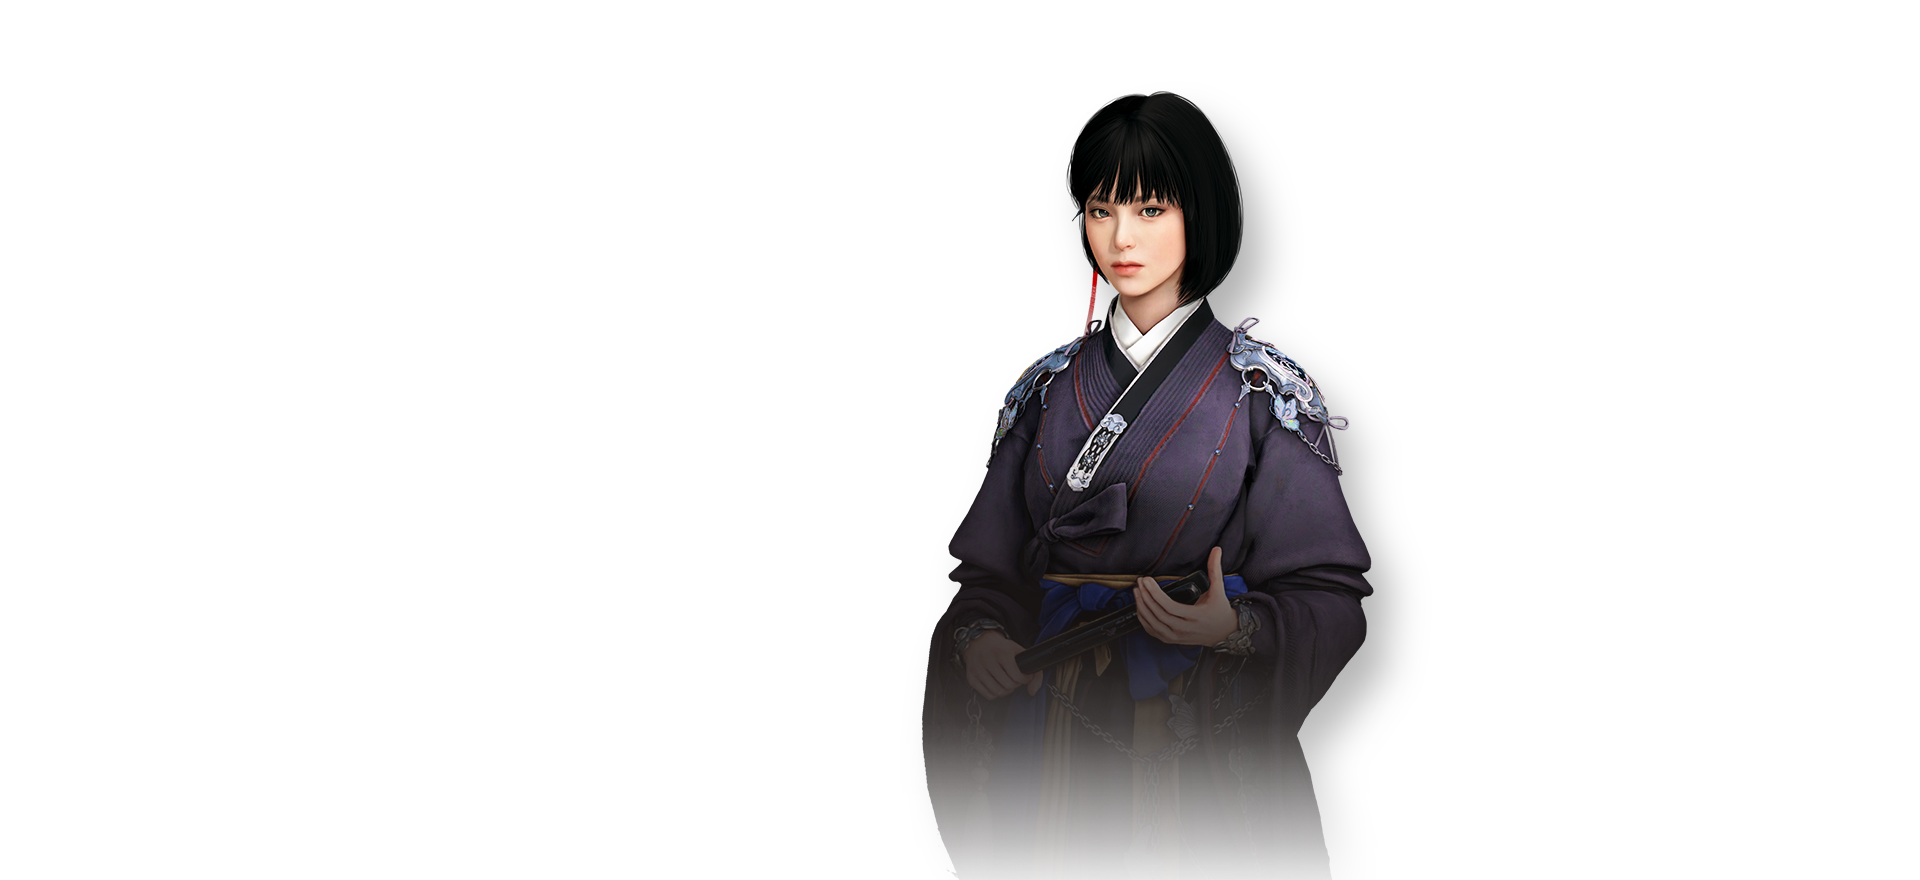
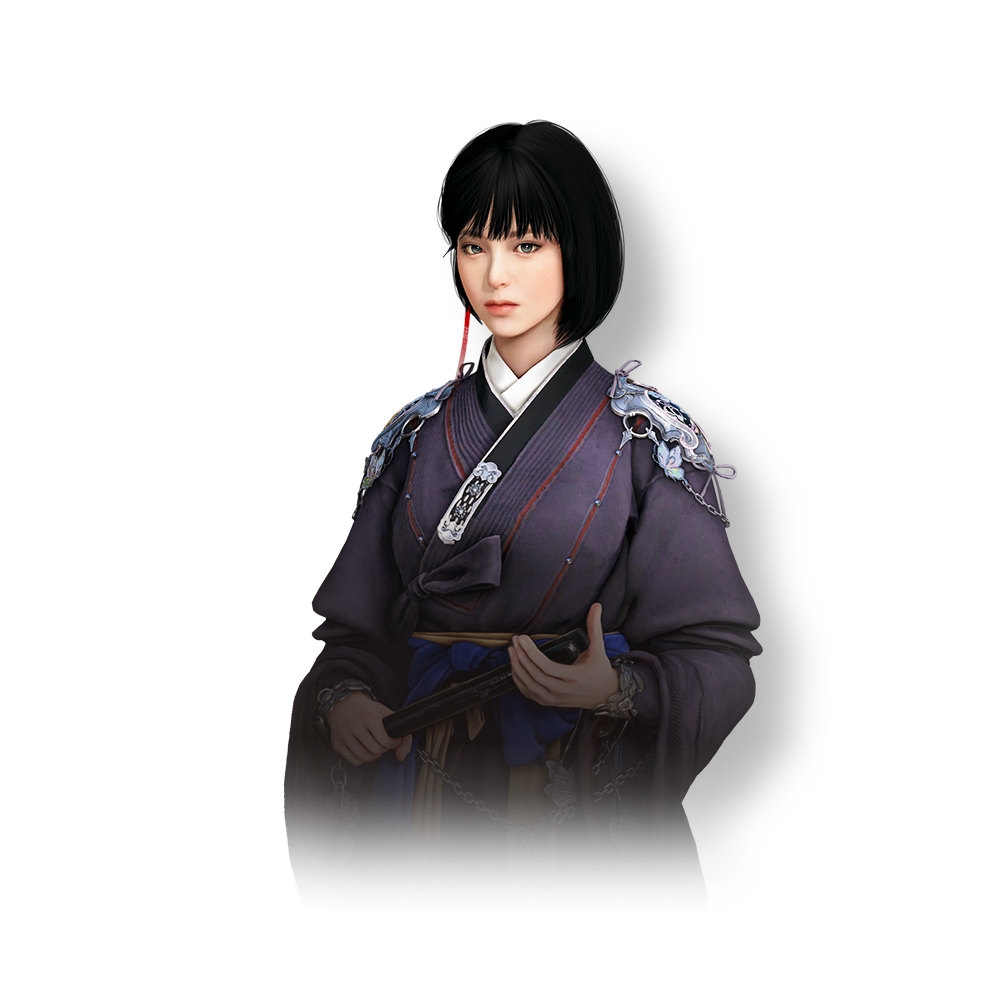


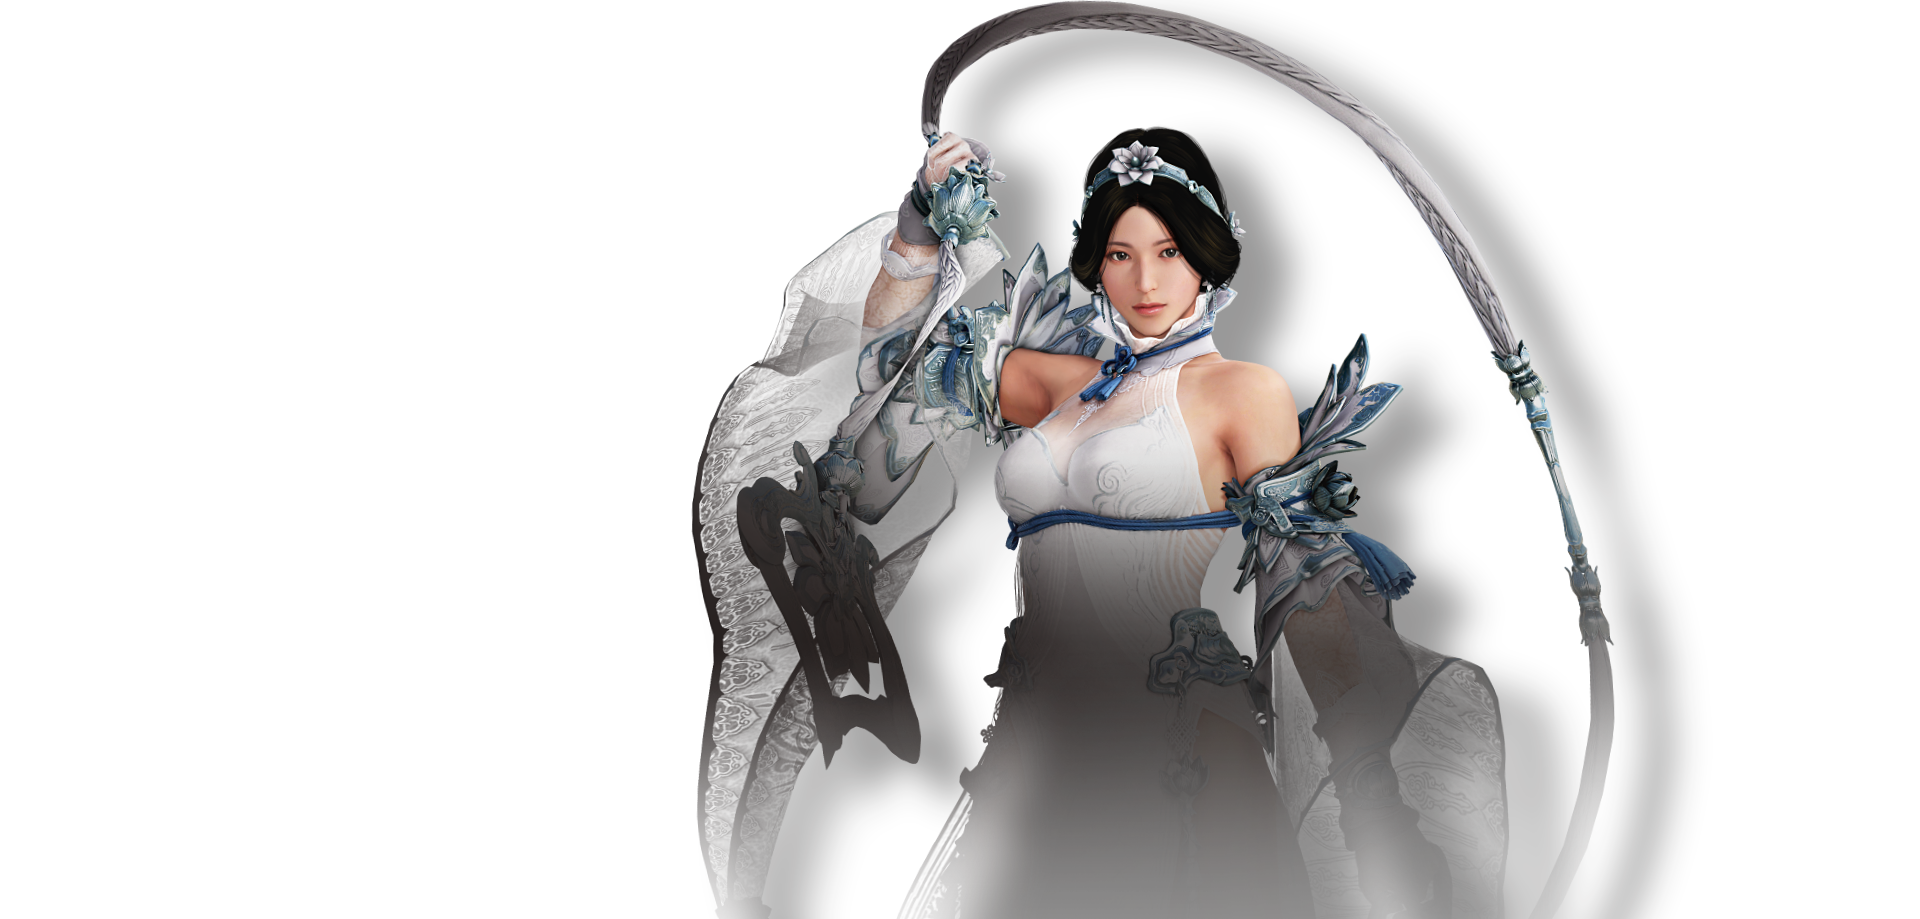
Maegu
A melee/ranged class who forged a pact with a fox spirit,Maegu lures in her enemies with her charm
to deal critical strikes with her binyeo knife. Learn More


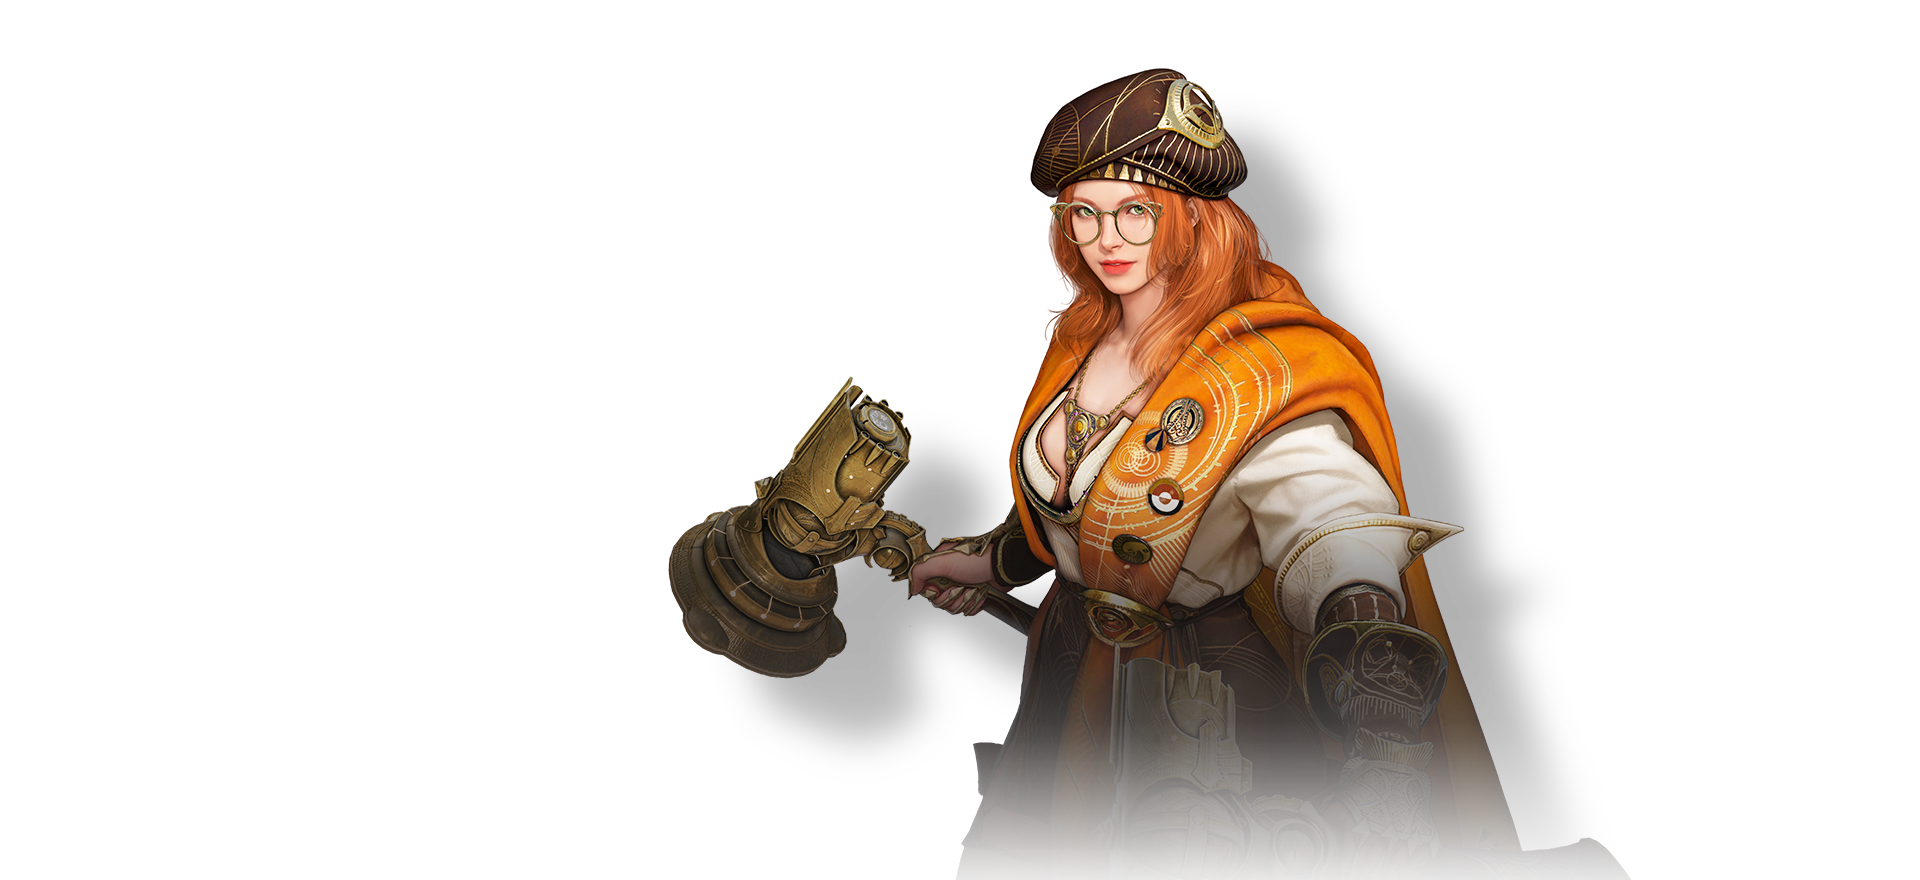
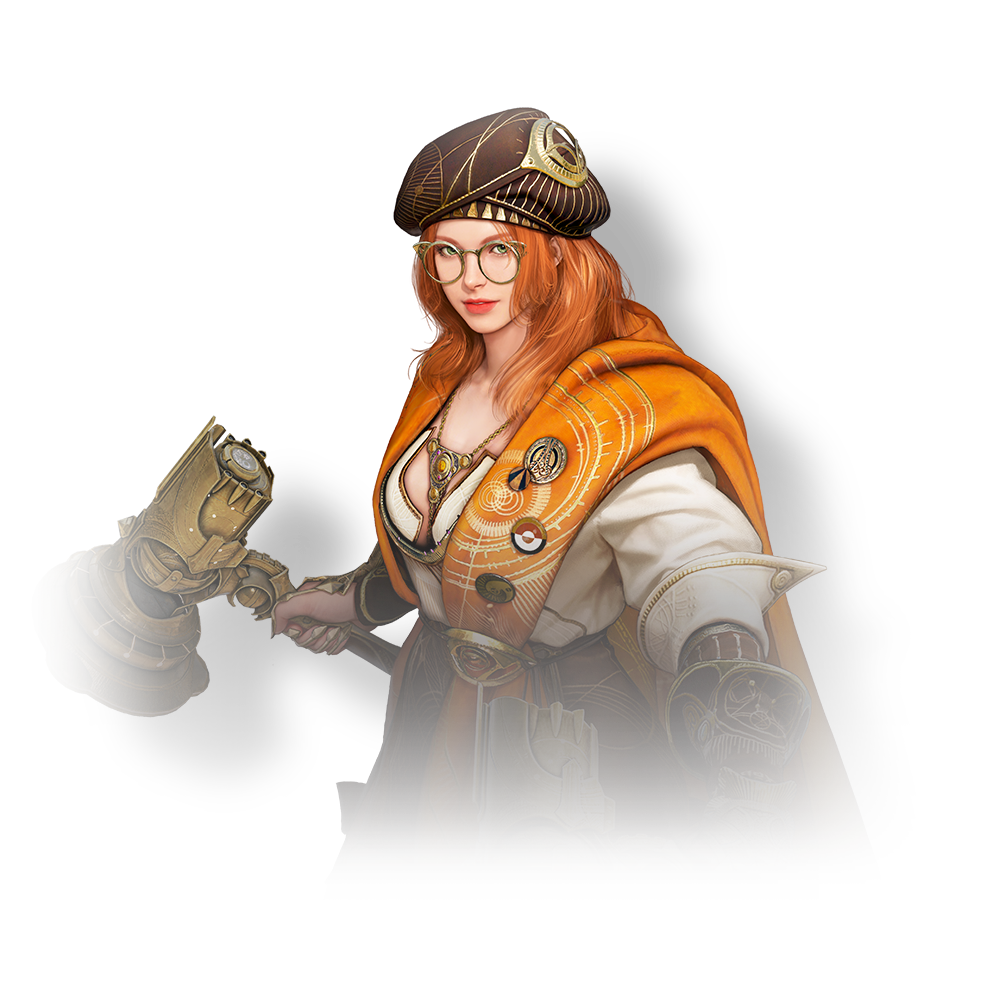
Scholar
Wielding hammers forged through alchemy and particle acceleration of Gravity Cores,a melee character with control over the earth's metals. Learn More


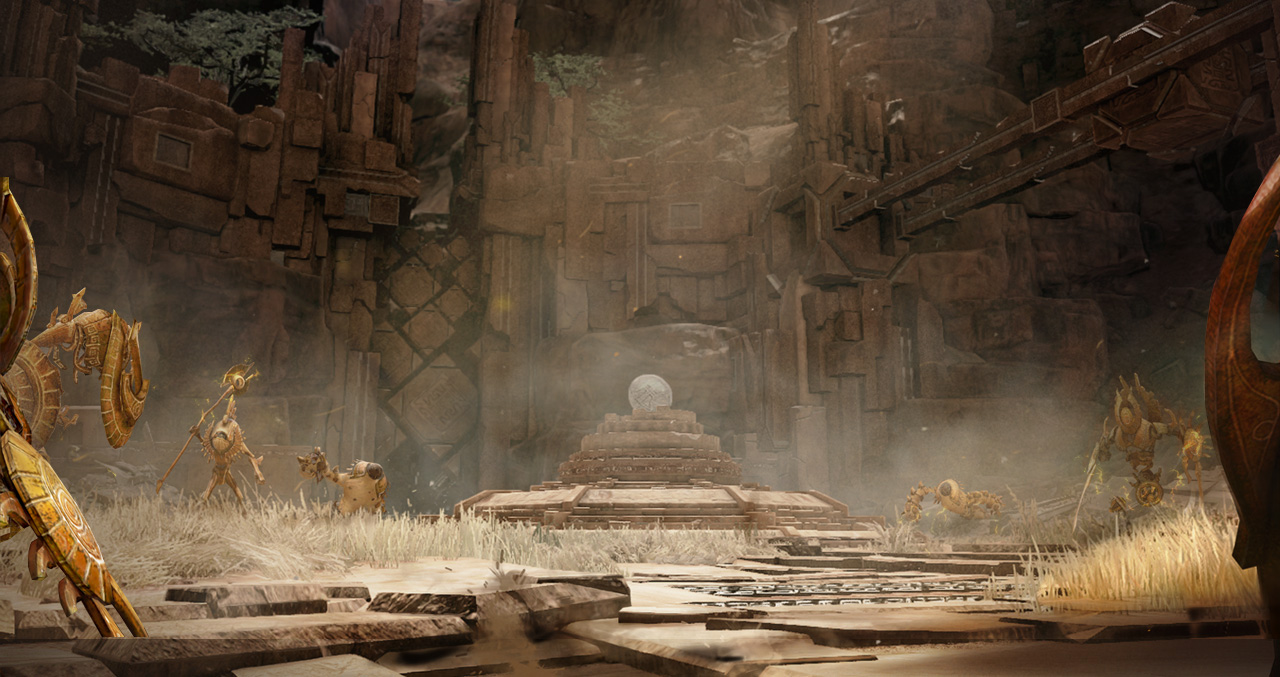
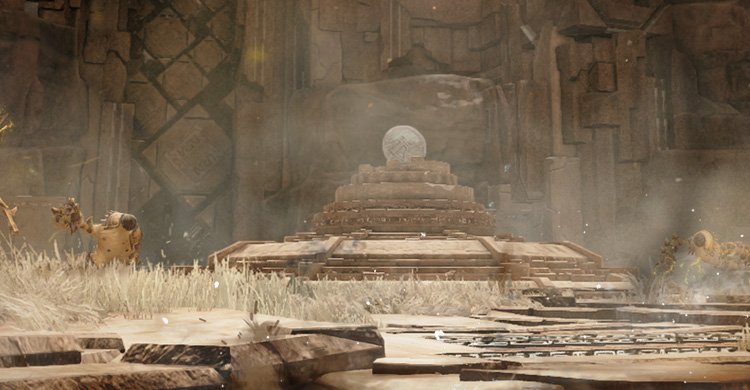
Media
Enjoy the beautiful remastered world of Black Desert through videos and images.


